





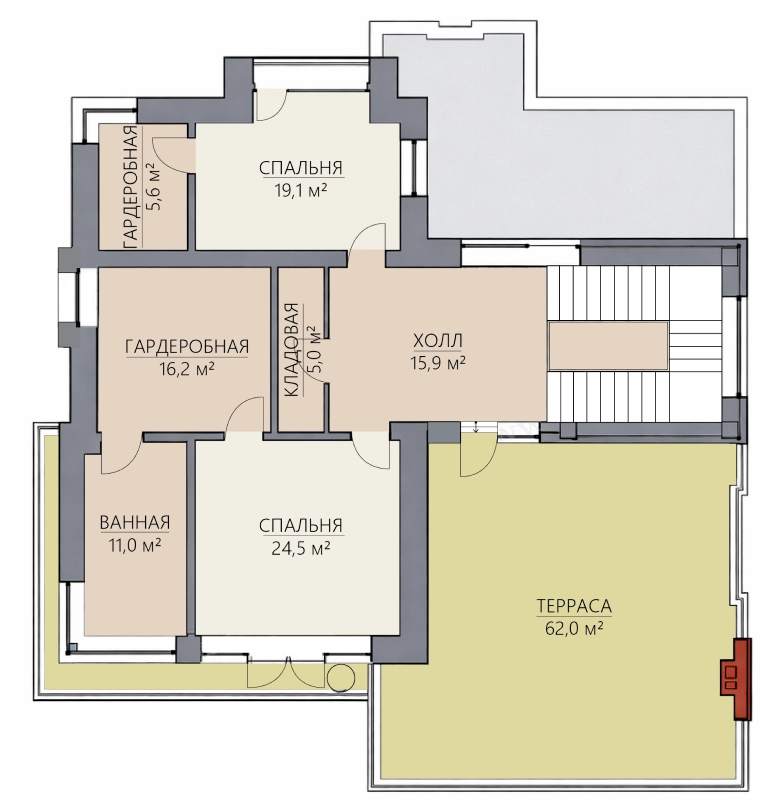
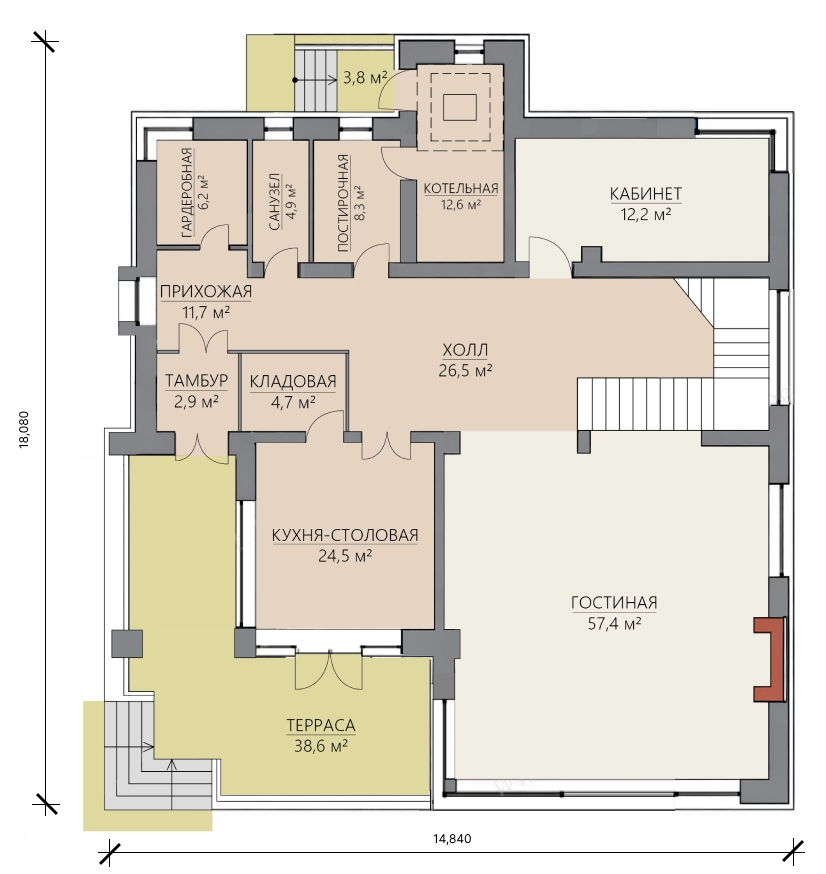
Floor plans
Project specifications
Floor area
374 m²
Storeys
2
Bedrooms
2
Bathrooms
2
House dimensions
18×15
Roof type
Flat
Construction packages
Standard
Foundation
300 mm cast-in-place concrete slab.
- Compacting the sub-base
Preparing and compacting a sand-and-gravel and crushed-stone sub-base in 100–150 mm layers, with water application.
- Laying non-woven geotextile
Cutting the material to size, laying it on the prepared base and securing sheets where required.
- Timber formwork
Assembling formwork panels from 50 mm boards, installing bracing and checking levels and alignment.
- Installing service sleeves
Setting out service penetrations, positioning pipe sleeves and checking them before concrete placement.
- Foundation waterproofing
Cleaning and preparing the surface, applying bituminous primer and one or two waterproofing layers, and sealing joints and overlaps.
- Installing reinforcement cages
Cutting and bending reinforcement and ties, then assembling three-dimensional reinforcement cages.
- Concrete delivery and placement
Receiving the concrete mixer truck, checking the concrete visually, arranging delivery by chute or pump and compacting with an immersion vibrator.
Walls
(300 mm autoclaved aerated concrete)
- Laying waterproofing
Two layers around the load-bearing walls, with cleaning, preparation and levelling of the foundation where required.
- External wall masonry
300 mm autoclaved aerated concrete blocks laid with adhesive; the first course is laid on cement-and-sand mortar.
- External wall reinforcement
Cutting chases in the blockwork, installing reinforcement or masonry mesh and filling the chases.
- Internal wall masonry
300 mm autoclaved aerated concrete blocks laid with adhesive; the first course is laid on cement-and-sand mortar.
- Internal wall reinforcement
Cutting chases in the blockwork, installing reinforcement or masonry mesh and filling the chases.
- Installing lintels
Equal-leg steel angles or reinforced-concrete lintels over windows and doors, with level setting and adequate bearing.
- Priming steel angles
Applying primer by brush or roller.
- Cutting steel angles
Cutting angles on site with a grinder or other cutting tool.
- External brick columns
380 mm brick columns on cement-and-sand mortar, with pointed joints and checks for plumb and alignment.
- Brick wall-plate course
Bonded brickwork beneath the wall plate, levelled and fitted with projecting anchor studs.
Intermediate floor
Reinforced concrete.
— timber attic floor
- Reinforced-concrete ring beam
A ring beam around the load-bearing walls, with external insulation and cast-in-place reinforced-concrete beams.
- Installing floor slabs
Crane placement of bonded floor slabs on cement-and-sand mortar applied to the bearing surfaces.
Flat roof
- Vapour barrier
Preparing and cleaning the supporting slab, cutting vapour-barrier sheets and laying them with overlaps.
- Forming the roof falls
Setting out the designed falls, forming a cement-and-sand screed and checking levels and drainage direction.
- Roof insulation
Laying insulation boards in several layers with staggered joints, trimming to fit and checking for thermal bridges.
- Falls to roof outlets
Forming falls towards drainage points and checking flow direction and design levels.
- Installing roof outlets
Setting out and installing roof outlets, sealing junctions and connecting to the internal drainage system.
- Roof waterproofing membrane
Preparing the substrate, bonding or torch-applying the first layer and installing a second layer with staggered seams and watertightness checks.
- Roof junction waterproofing
Adding waterproofing layers at parapets, shafts and other junctions, with termination bars.
- Parapet construction
Building or installing parapets to the design, checking alignment and preparing the base for coping.
- Installing parapet coping
Fabricating and installing metal coping, forming overlaps, fixing elements and sealing joints.
- Protective roof finish
Laying the protective layer, such as gravel, paving on supports or another specified finish, while checking membrane integrity.
Comfort
Foundation
300 mm cast-in-place concrete slab.
+ foundation insulation
- Compacting the sub-base
Preparing and compacting a sand-and-gravel and crushed-stone sub-base in 100–150 mm layers, with water application.
- Laying non-woven geotextile
Cutting the material to size, laying it on the prepared base and securing sheets where required.
- Timber formwork
Assembling formwork panels from 50 mm boards, installing bracing and checking levels and alignment.
- Installing service sleeves
Setting out service penetrations, positioning pipe sleeves and checking them before concrete placement.
- Foundation waterproofing
Cleaning and preparing the surface, applying bituminous primer and one or two waterproofing layers, and sealing joints and overlaps.
- Installing reinforcement cages
Cutting and bending reinforcement and ties, then assembling three-dimensional reinforcement cages.
- Concrete delivery and placement
Receiving the concrete mixer truck, checking the concrete visually, arranging delivery by chute or pump and compacting with an immersion vibrator.
+ Laying 100 mm insulation boards or mats without gaps, fixing them where required and adding protective layers where specified.
Walls
(autoclaved aerated concrete
400 mm + facade cladding
+ internal partitions)
- Laying waterproofing
Two layers around the load-bearing walls, with cleaning, preparation and levelling of the foundation where required.
- External wall masonry
300 mm autoclaved aerated concrete blocks laid with adhesive; the first course is laid on cement-and-sand mortar.
- External wall reinforcement
Cutting chases in the blockwork, installing reinforcement or masonry mesh and filling the chases.
- Internal wall masonry
300 mm autoclaved aerated concrete blocks laid with adhesive; the first course is laid on cement-and-sand mortar.
- Internal wall reinforcement
Cutting chases in the blockwork, installing reinforcement or masonry mesh and filling the chases.
- Installing lintels
Equal-leg steel angles or reinforced-concrete lintels over windows and doors, with level setting and adequate bearing.
- Priming steel angles
Applying primer by brush or roller.
- Cutting steel angles
Cutting angles on site with a grinder or other cutting tool.
- External brick columns
380 mm brick columns on cement-and-sand mortar, with pointed joints and checks for plumb and alignment.
- Brick wall-plate course
Bonded brickwork beneath the wall plate, levelled and fitted with projecting anchor studs.
+ Plinth masonry
Setting out and laying standard M150 bricks with bonded joints, checking courses against levels and string lines.
+ Internal partition masonry
120 mm brick partitions on cement-and-sand mortar with bonded joints and checks against levels and string lines.
+ Facade cladding
Facing brickwork using one-and-a-half-height bricks, with a ventilated cavity, level checks and pointed joints.
Intermediate floors
Reinforced concrete.
— reinforced concrete attic floor
+ attic insulation
- Reinforced-concrete ring beam
A ring beam around the load-bearing walls, with external insulation and cast-in-place reinforced-concrete beams.
- Installing floor slabs
Crane placement of bonded floor slabs on cement-and-sand mortar applied to the bearing surfaces.
+ Installing a vapour barrier
Laying sheets over the floor structure with overlaps and taped joints to protect insulation from indoor moisture.
+ Laying insulation
200 mm insulation with staggered joints, using mineral wool or extruded polystyrene.
Flat roof
- Vapour barrier
Preparing and cleaning the supporting slab, cutting vapour-barrier sheets and laying them with overlaps.
- Forming the roof falls
Setting out the designed falls, forming a cement-and-sand screed and checking levels and drainage direction.
- Roof insulation
Laying insulation boards in several layers with staggered joints, trimming to fit and checking for thermal bridges.
- Falls to roof outlets
Forming falls towards drainage points and checking flow direction and design levels.
- Installing roof outlets
Setting out and installing roof outlets, sealing junctions and connecting to the internal drainage system.
- Roof waterproofing membrane
Preparing the substrate, bonding or torch-applying the first layer and installing a second layer with staggered seams and watertightness checks.
- Roof junction waterproofing
Adding waterproofing layers at parapets, shafts and other junctions, with termination bars.
- Parapet construction
Building or installing parapets to the design, checking alignment and preparing the base for coping.
- Installing parapet coping
Fabricating and installing metal coping, forming overlaps, fixing elements and sealing joints.
- Protective roof finish
Laying the protective layer, such as gravel, paving on supports or another specified finish, while checking membrane integrity.
Premium
Foundation
300 mm cast-in-place concrete slab.
+ foundation insulation
+ perimeter drainage
- Compacting the sub-base
Preparing and compacting a sand-and-gravel and crushed-stone sub-base in 100–150 mm layers, with water application.
- Laying non-woven geotextile
Cutting the material to size, laying it on the prepared base and securing sheets where required.
- Timber formwork
Assembling formwork panels from 50 mm boards, installing bracing and checking levels and alignment.
- Installing service sleeves
Setting out service penetrations, positioning pipe sleeves and checking them before concrete placement.
- Foundation waterproofing
Cleaning and preparing the surface, applying bituminous primer and one or two waterproofing layers, and sealing joints and overlaps.
- Installing reinforcement cages
Cutting and bending reinforcement and ties, then assembling three-dimensional reinforcement cages.
- Concrete delivery and placement
Receiving the concrete mixer truck, checking the concrete visually, arranging delivery by chute or pump and compacting with an immersion vibrator.
+ Laying 100 mm insulation boards or mats without gaps, fixing them where required and adding protective layers where specified.
+ Foundation perimeter drainage using 110 mm perforated pipe wrapped in geotextile, with inspection chambers.
Walls
(autoclaved aerated concrete
400 mm + facade cladding
+ internal partitions
+ glazing)
- Laying waterproofing
Two layers around the load-bearing walls, with cleaning, preparation and levelling of the foundation where required.
- External wall masonry
300 mm autoclaved aerated concrete blocks laid with adhesive; the first course is laid on cement-and-sand mortar.
- External wall reinforcement
Cutting chases in the blockwork, installing reinforcement or masonry mesh and filling the chases.
- Internal wall masonry
300 mm autoclaved aerated concrete blocks laid with adhesive; the first course is laid on cement-and-sand mortar.
- Internal wall reinforcement
Cutting chases in the blockwork, installing reinforcement or masonry mesh and filling the chases.
- Installing lintels
Equal-leg steel angles or reinforced-concrete lintels over windows and doors, with level setting and adequate bearing.
- Priming steel angles
Applying primer by brush or roller.
- Cutting steel angles
Cutting angles on site with a grinder or other cutting tool.
- External brick columns
380 mm brick columns on cement-and-sand mortar, with pointed joints and checks for plumb and alignment.
- Brick wall-plate course
Bonded brickwork beneath the wall plate, levelled and fitted with projecting anchor studs.
+ Plinth masonry
Setting out and laying standard M150 bricks with bonded joints, checking courses against levels and string lines.
+ Internal partition masonry
120 mm brick partitions on cement-and-sand mortar with bonded joints and checks against levels and string lines.
+ Facade cladding
Facing brickwork using one-and-a-half-height bricks, with a ventilated cavity, level checks and pointed joints.
+ House glazing
Installing PVC window frames, opening sashes, insulated glass units, internal sills and external flashings.
Intermediate floors
Reinforced concrete.
— reinforced concrete attic floor
+ attic insulation
- Reinforced-concrete ring beam
A ring beam around the load-bearing walls, with external insulation and cast-in-place reinforced-concrete beams.
- Installing floor slabs
Crane placement of bonded floor slabs on cement-and-sand mortar applied to the bearing surfaces.
+ Installing a vapour barrier
Laying sheets over the floor structure with overlaps and taped joints to protect insulation from indoor moisture.
+ Laying insulation
200 mm insulation with staggered joints, using mineral wool or extruded polystyrene.
Flat roof
- Vapour barrier
Preparing and cleaning the supporting slab, cutting vapour-barrier sheets and laying them with overlaps.
- Forming the roof falls
Setting out the designed falls, forming a cement-and-sand screed and checking levels and drainage direction.
- Roof insulation
Laying insulation boards in several layers with staggered joints, trimming to fit and checking for thermal bridges.
- Falls to roof outlets
Forming falls towards drainage points and checking flow direction and design levels.
- Installing roof outlets
Setting out and installing roof outlets, sealing junctions and connecting to the internal drainage system.
- Roof waterproofing membrane
Preparing the substrate, bonding or torch-applying the first layer and installing a second layer with staggered seams and watertightness checks.
- Roof junction waterproofing
Adding waterproofing layers at parapets, shafts and other junctions, with termination bars.
- Parapet construction
Building or installing parapets to the design, checking alignment and preparing the base for coping.
- Installing parapet coping
Fabricating and installing metal coping, forming overlaps, fixing elements and sealing joints.
- Protective roof finish
Laying the protective layer, such as gravel, paving on supports or another specified finish, while checking membrane integrity.
Project description
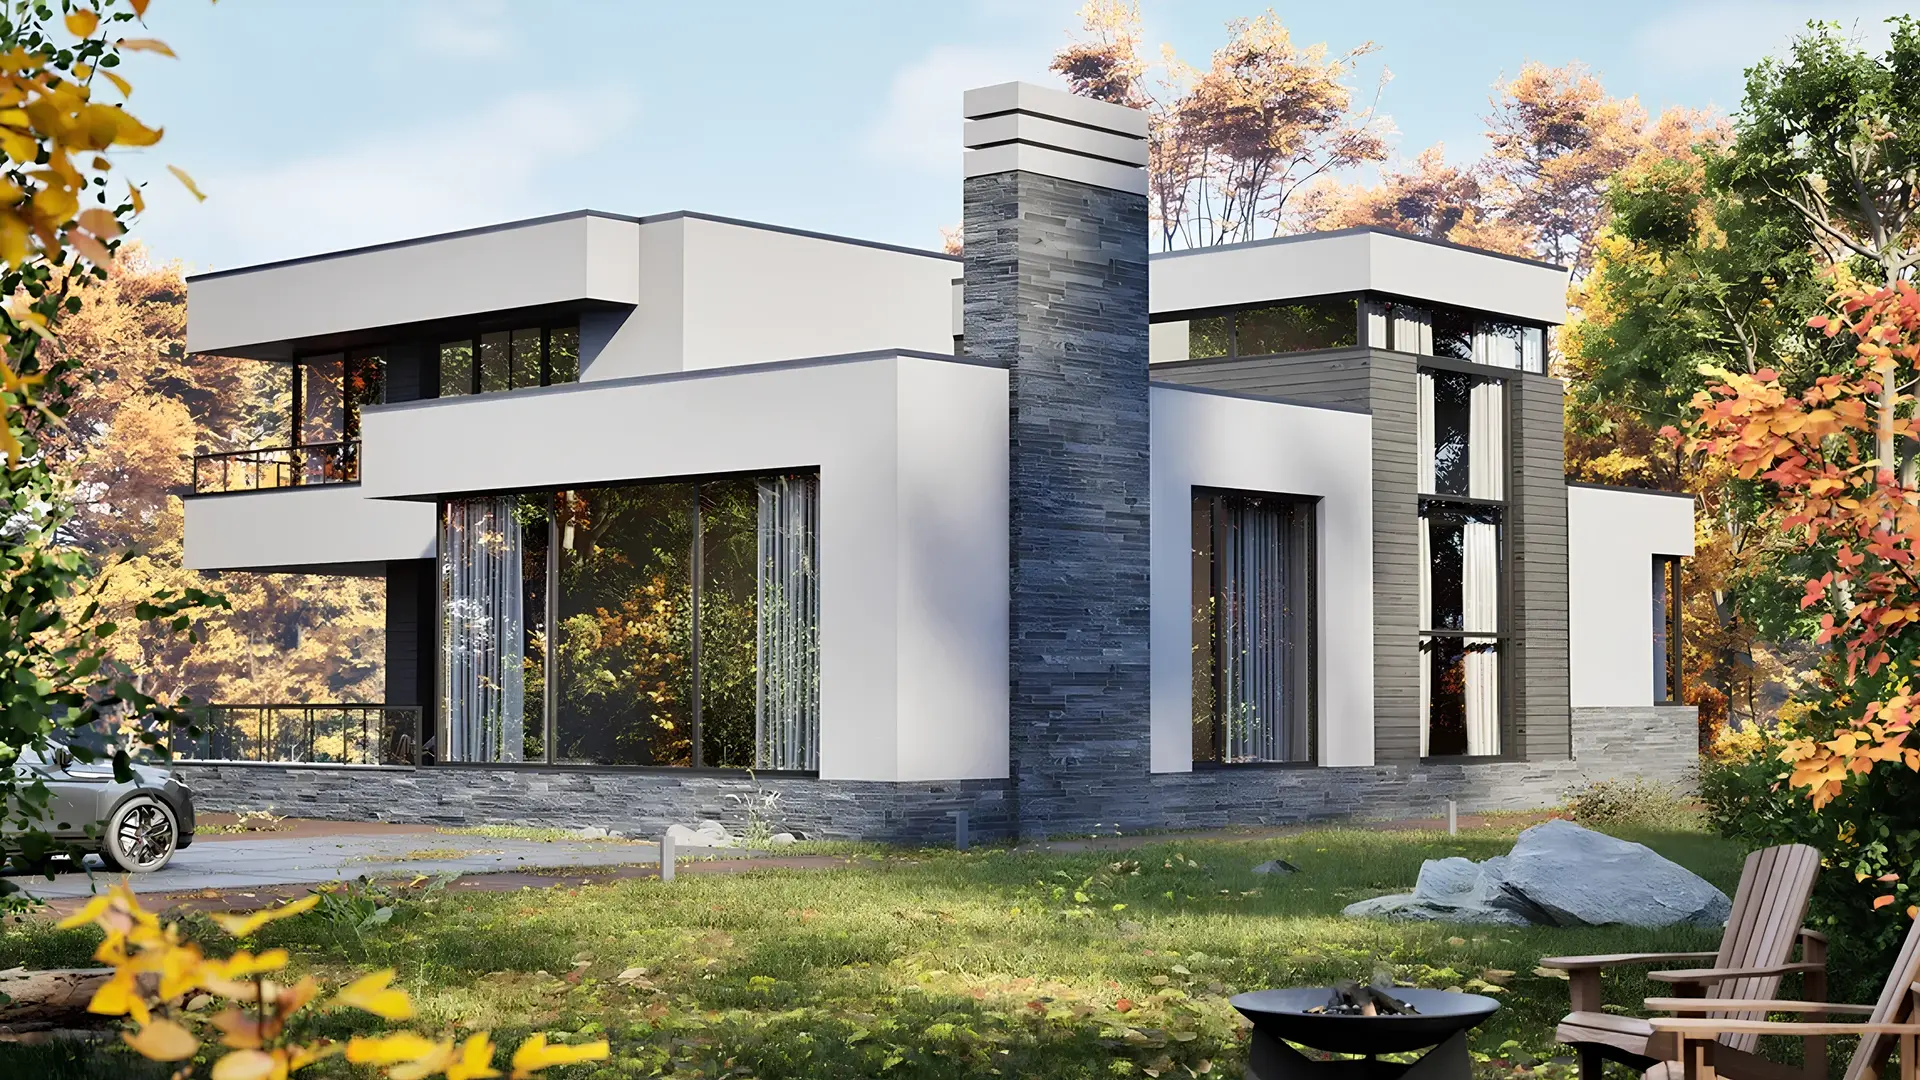
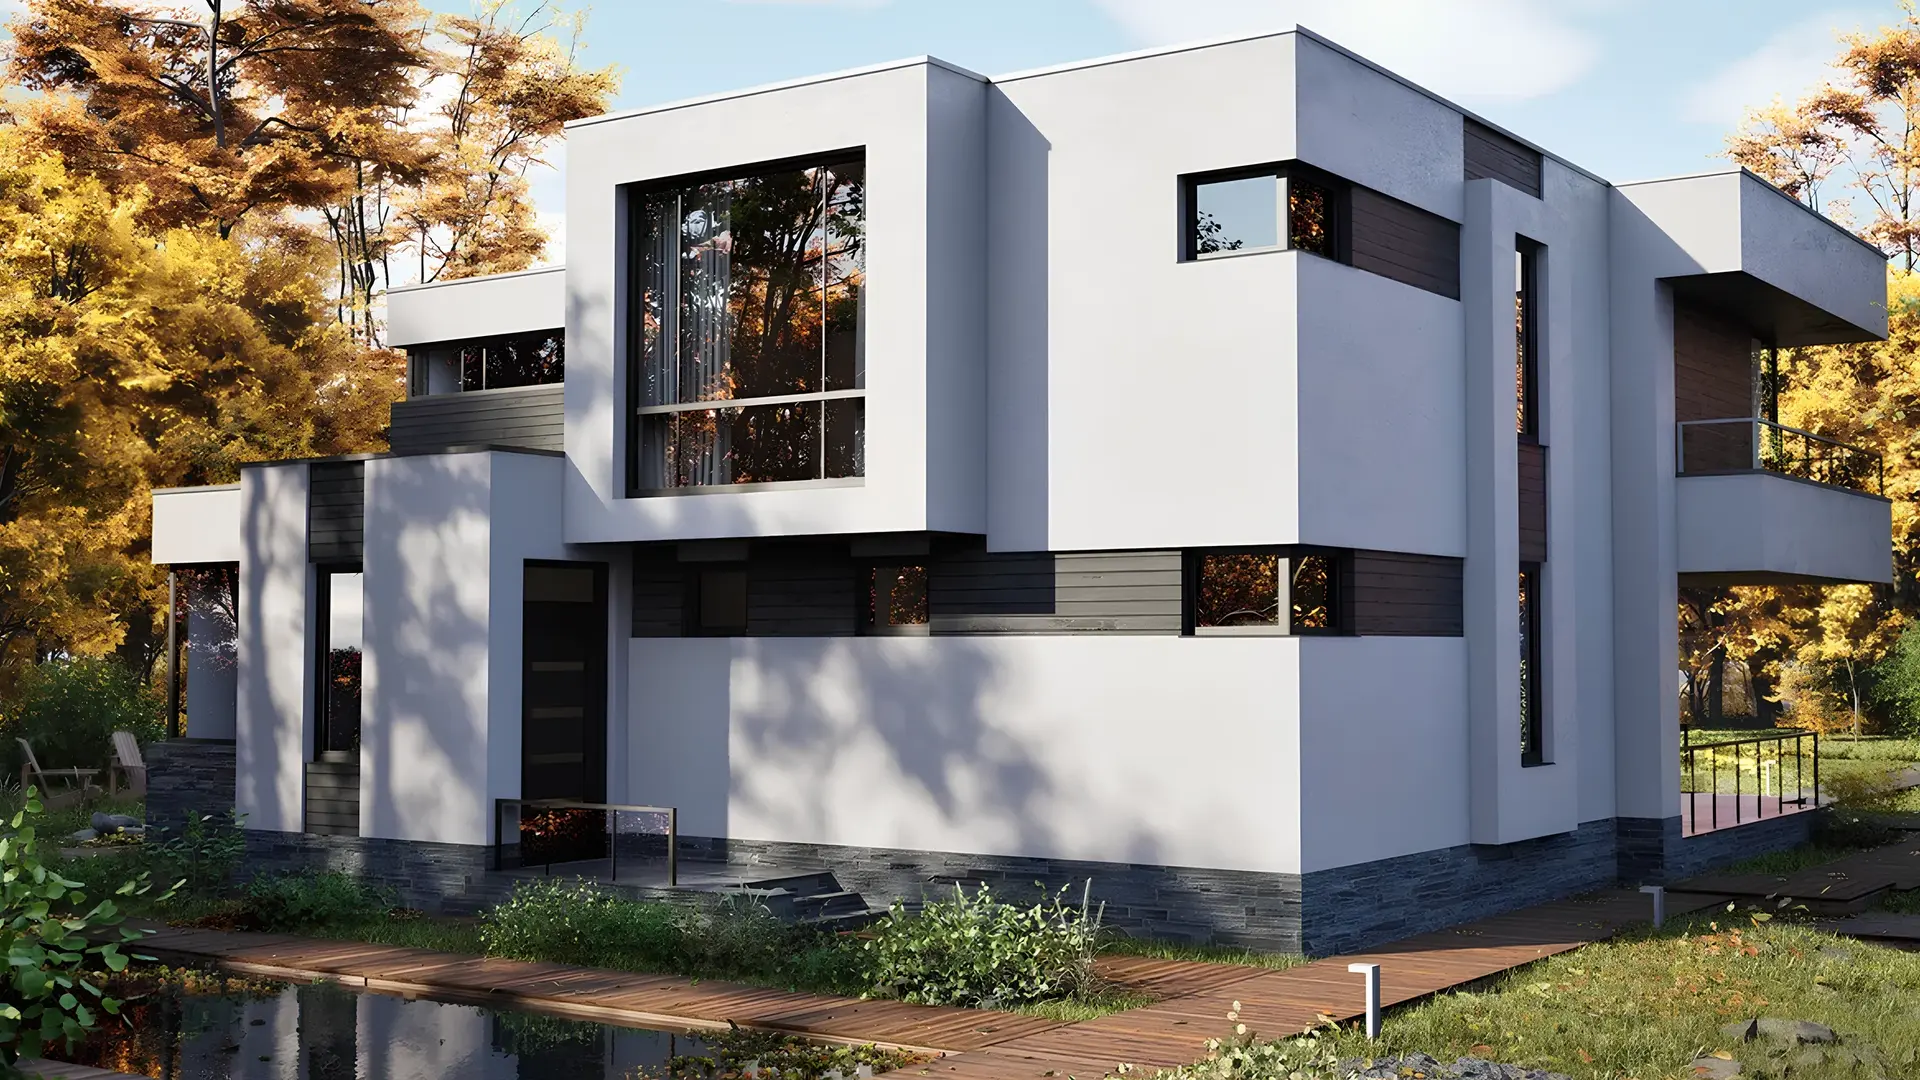
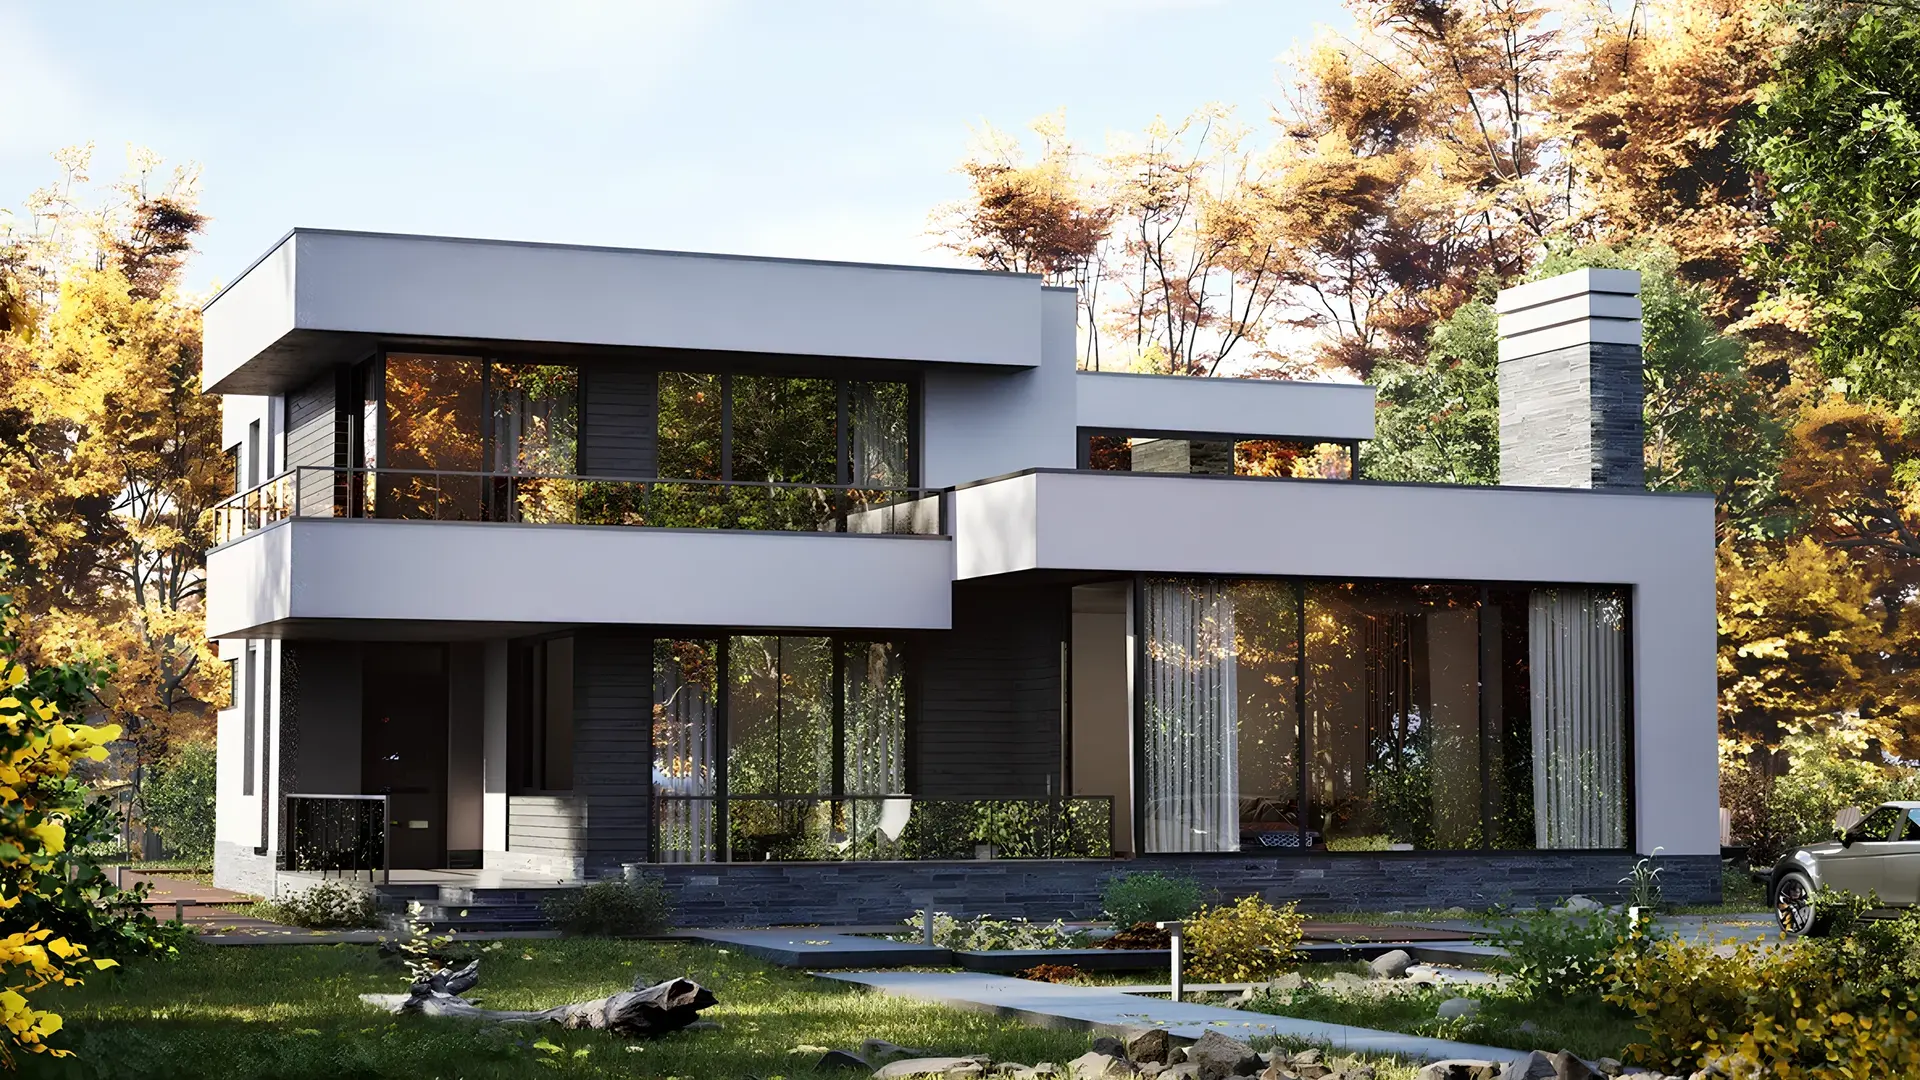
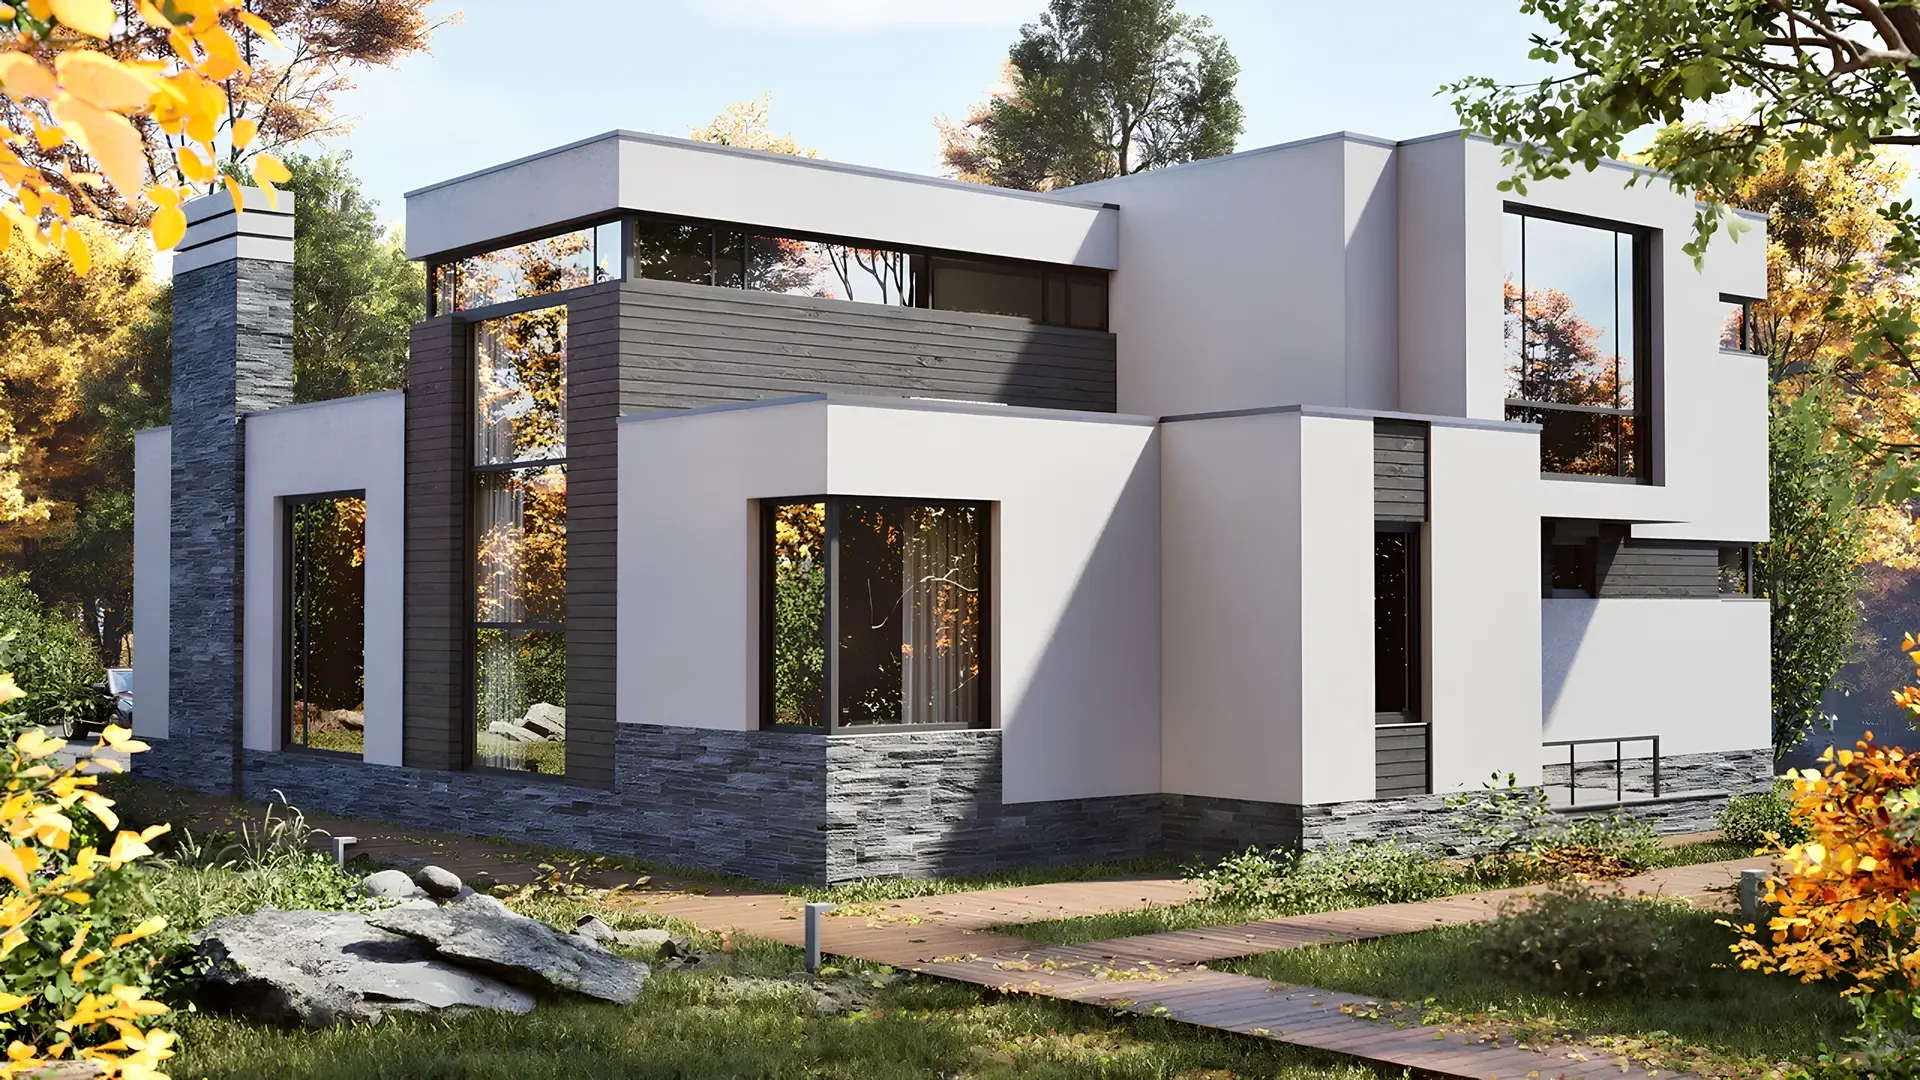
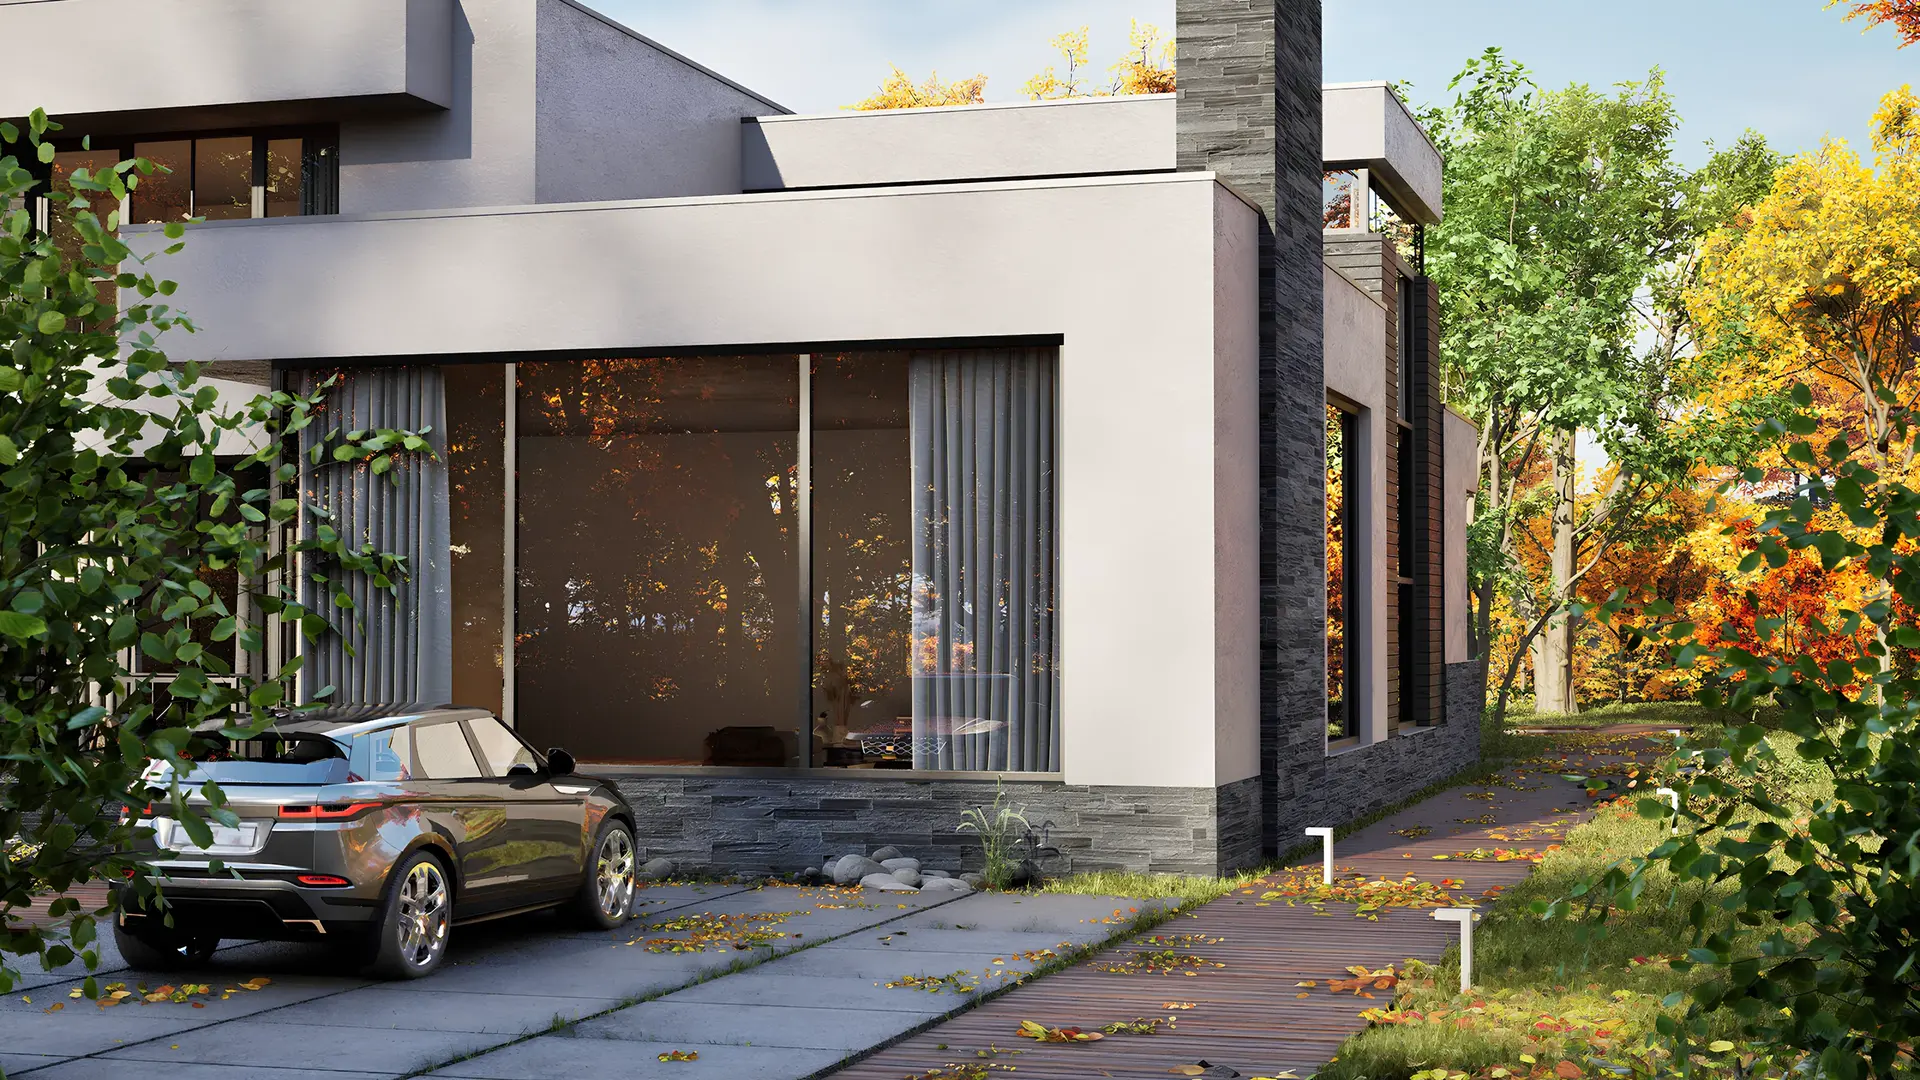
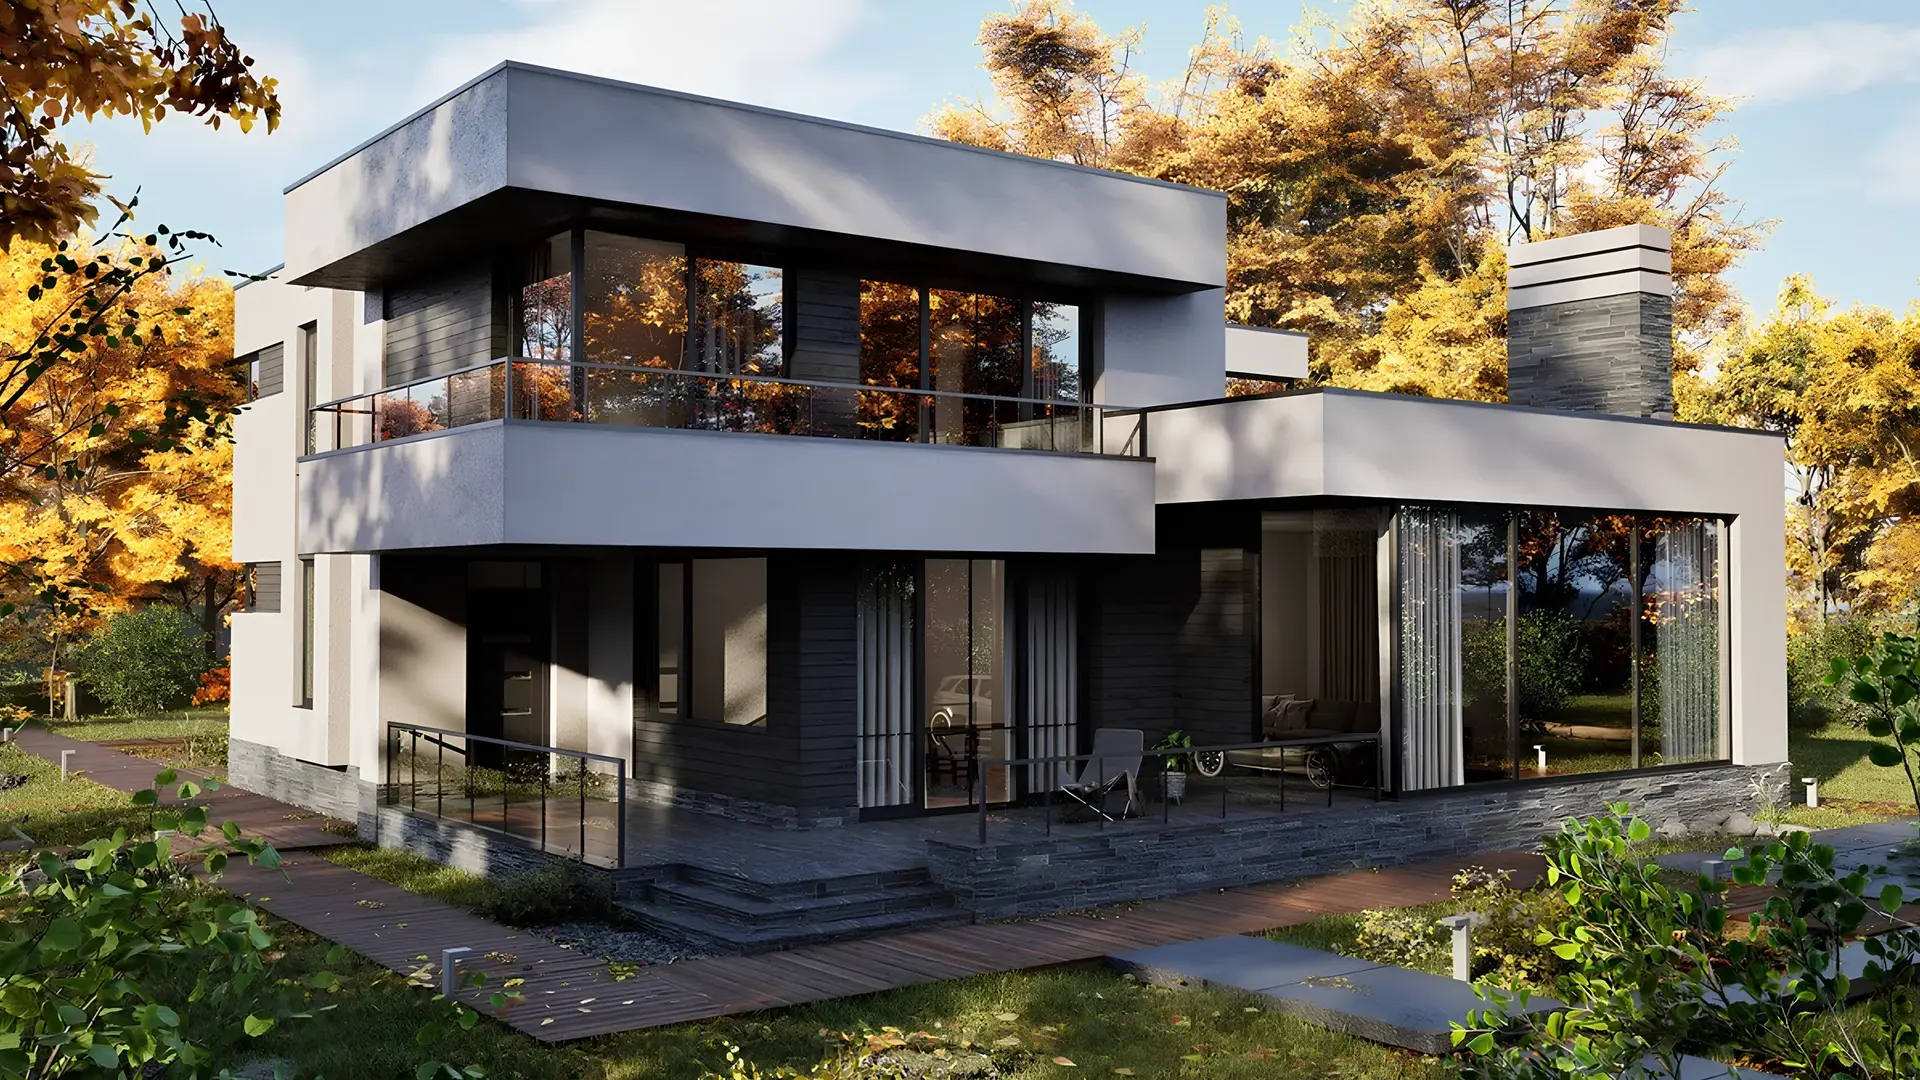
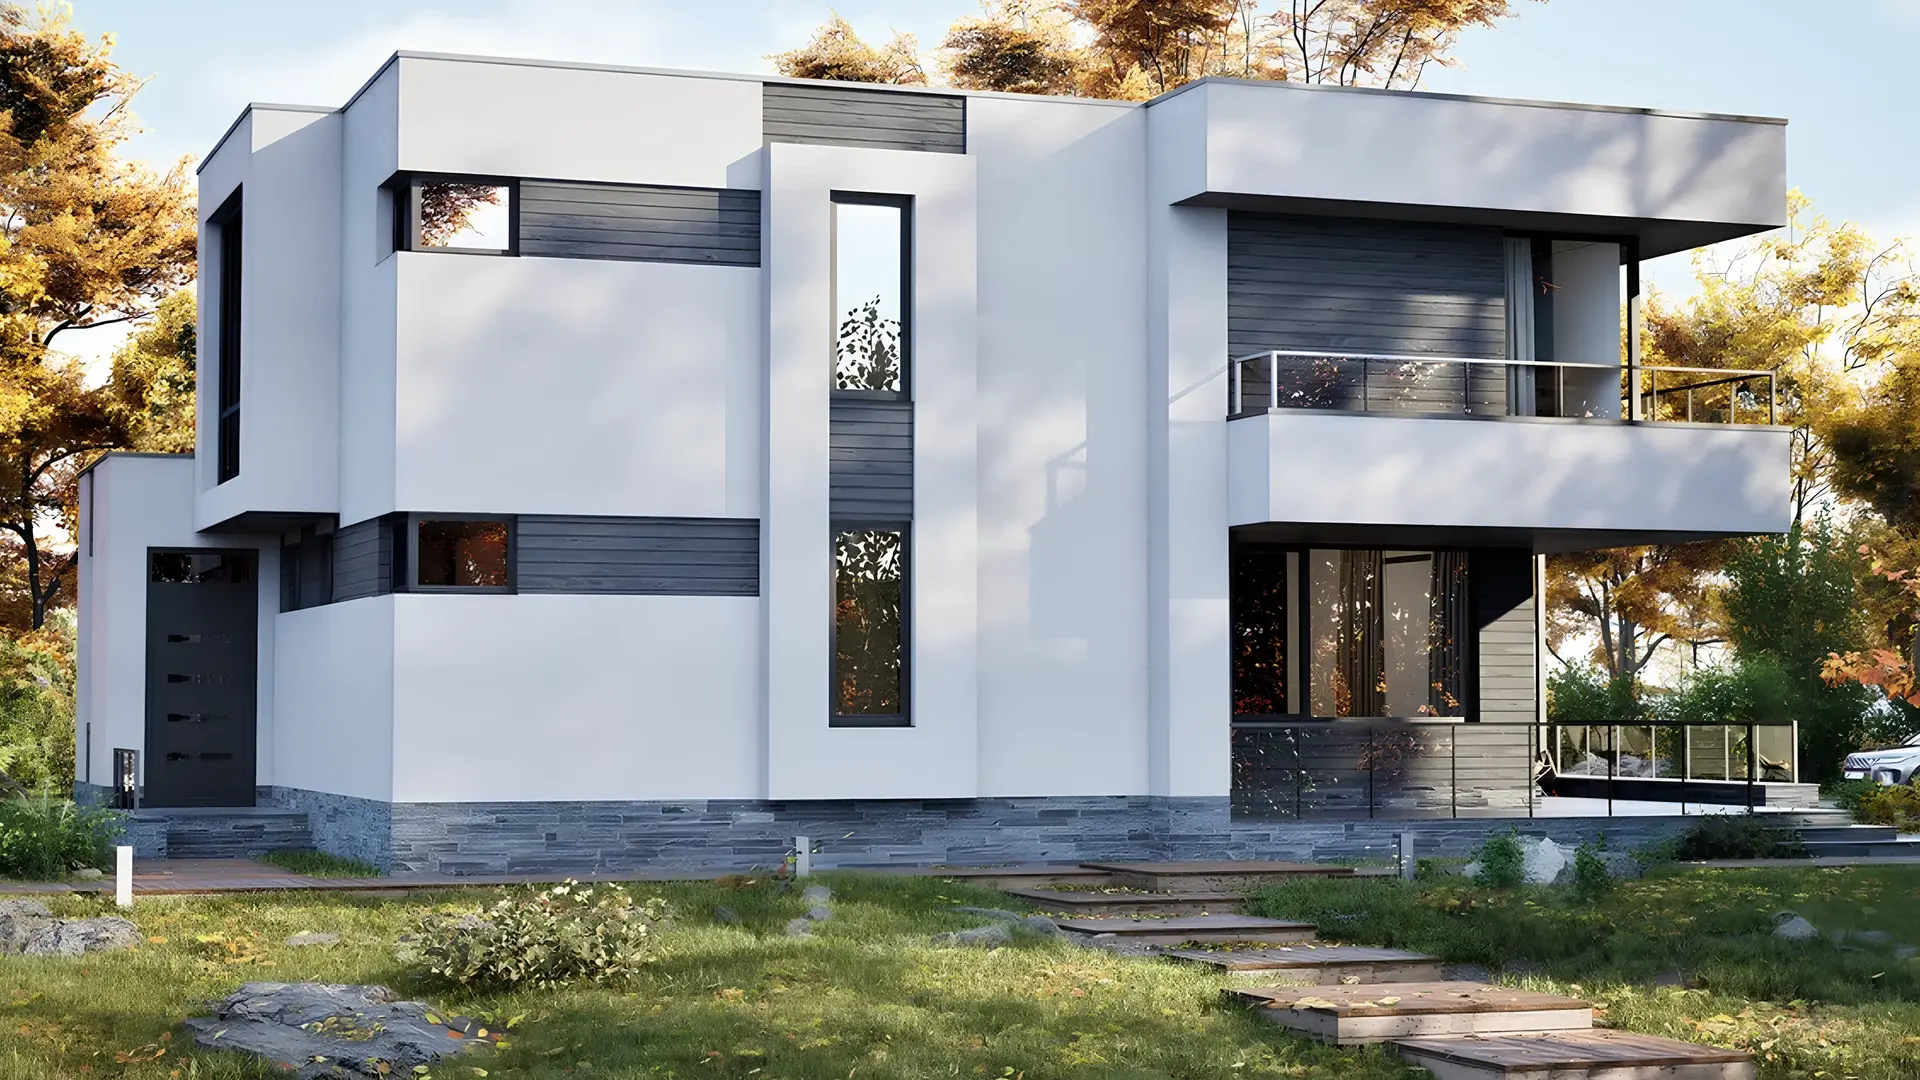
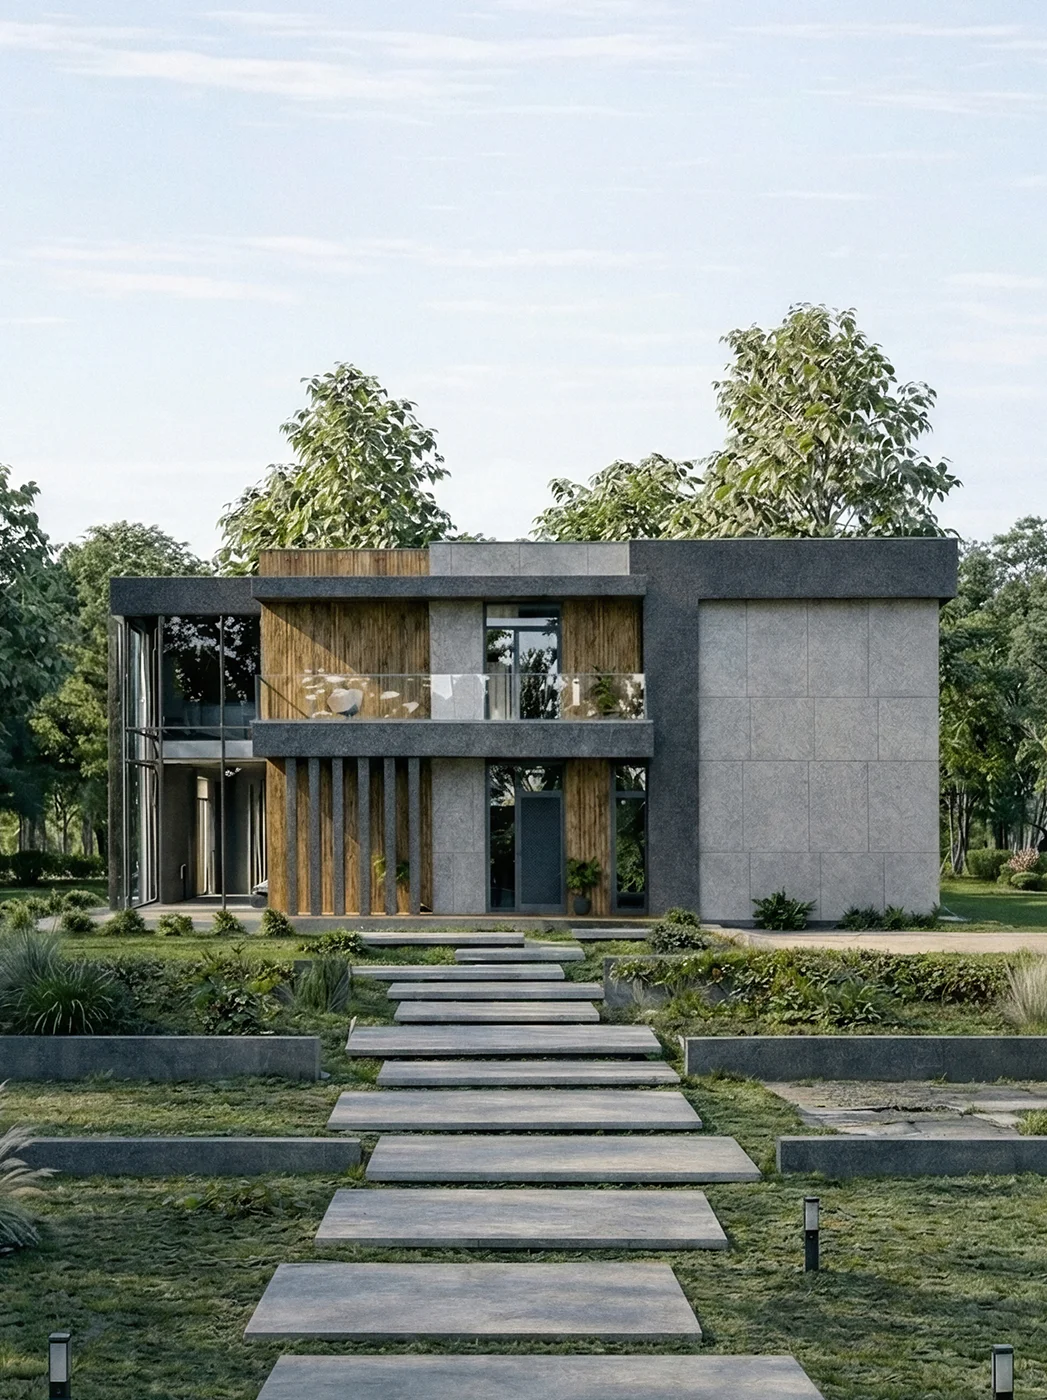
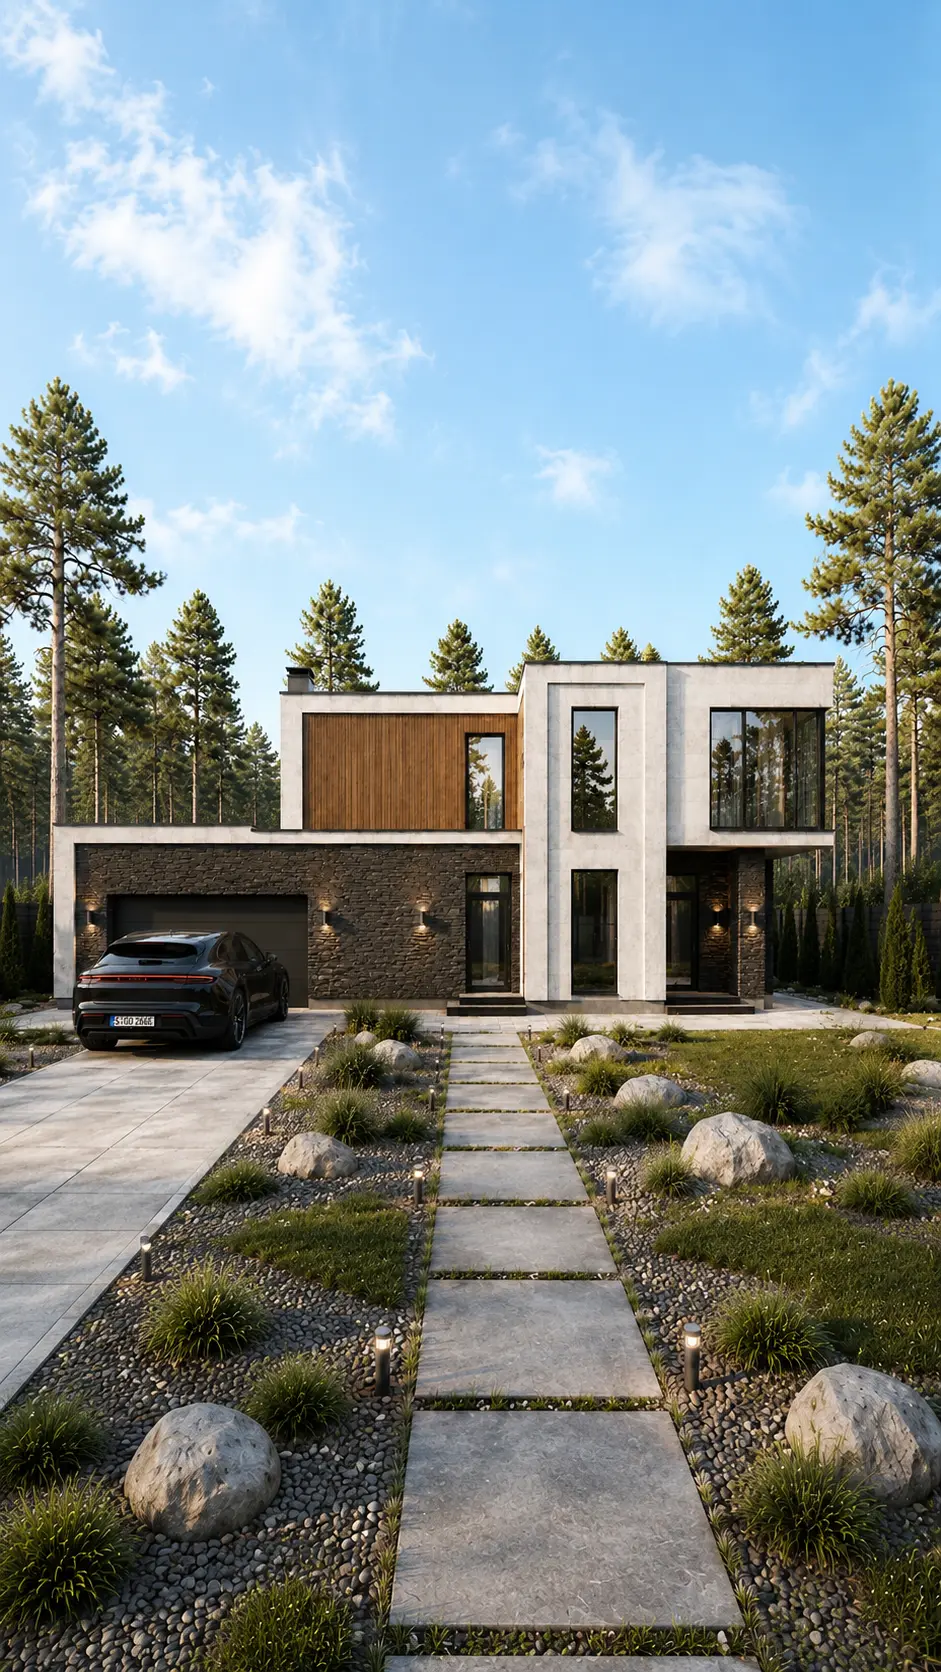
Terskiy is the design for a large two-storey house with a floor area of 374 m², featuring two bedrooms, two bathrooms, a terrace and a sauna.
The main areas include a living room, a kitchen, a study, a boiler room and a pantry. The workroom can be adapted as a study or an additional guest room. The terrace can be used as an outdoor relaxation area in warmer months.
The house dimensions of 18 × 15 m help assess how it will fit on the plot. The flat roof emphasises the contemporary appearance of the design.
374 m², 2 storeys
The 18 × 15 m dimensions help assess how the design will fit on the plot.
2 bedrooms, 2 bathrooms
The layout provides dedicated space for a living room, a kitchen, a study, a boiler room and a sauna.
Terrace
The terrace provides additional space to relax.
Sauna
The sauna forms a separate relaxation area.

Copyright protection
The house design, floor plans, visualisations, elevations, images and materials on this page are the intellectual property of April Premium. Copying, publishing, selling, distributing or using these materials without the copyright holder's written consent is prohibited.
More about legal protection →Interested in the Terskiy design?
We will prepare a preliminary construction estimate based on your chosen package, site and requirements.
Consultation and a preliminary estimate are free.