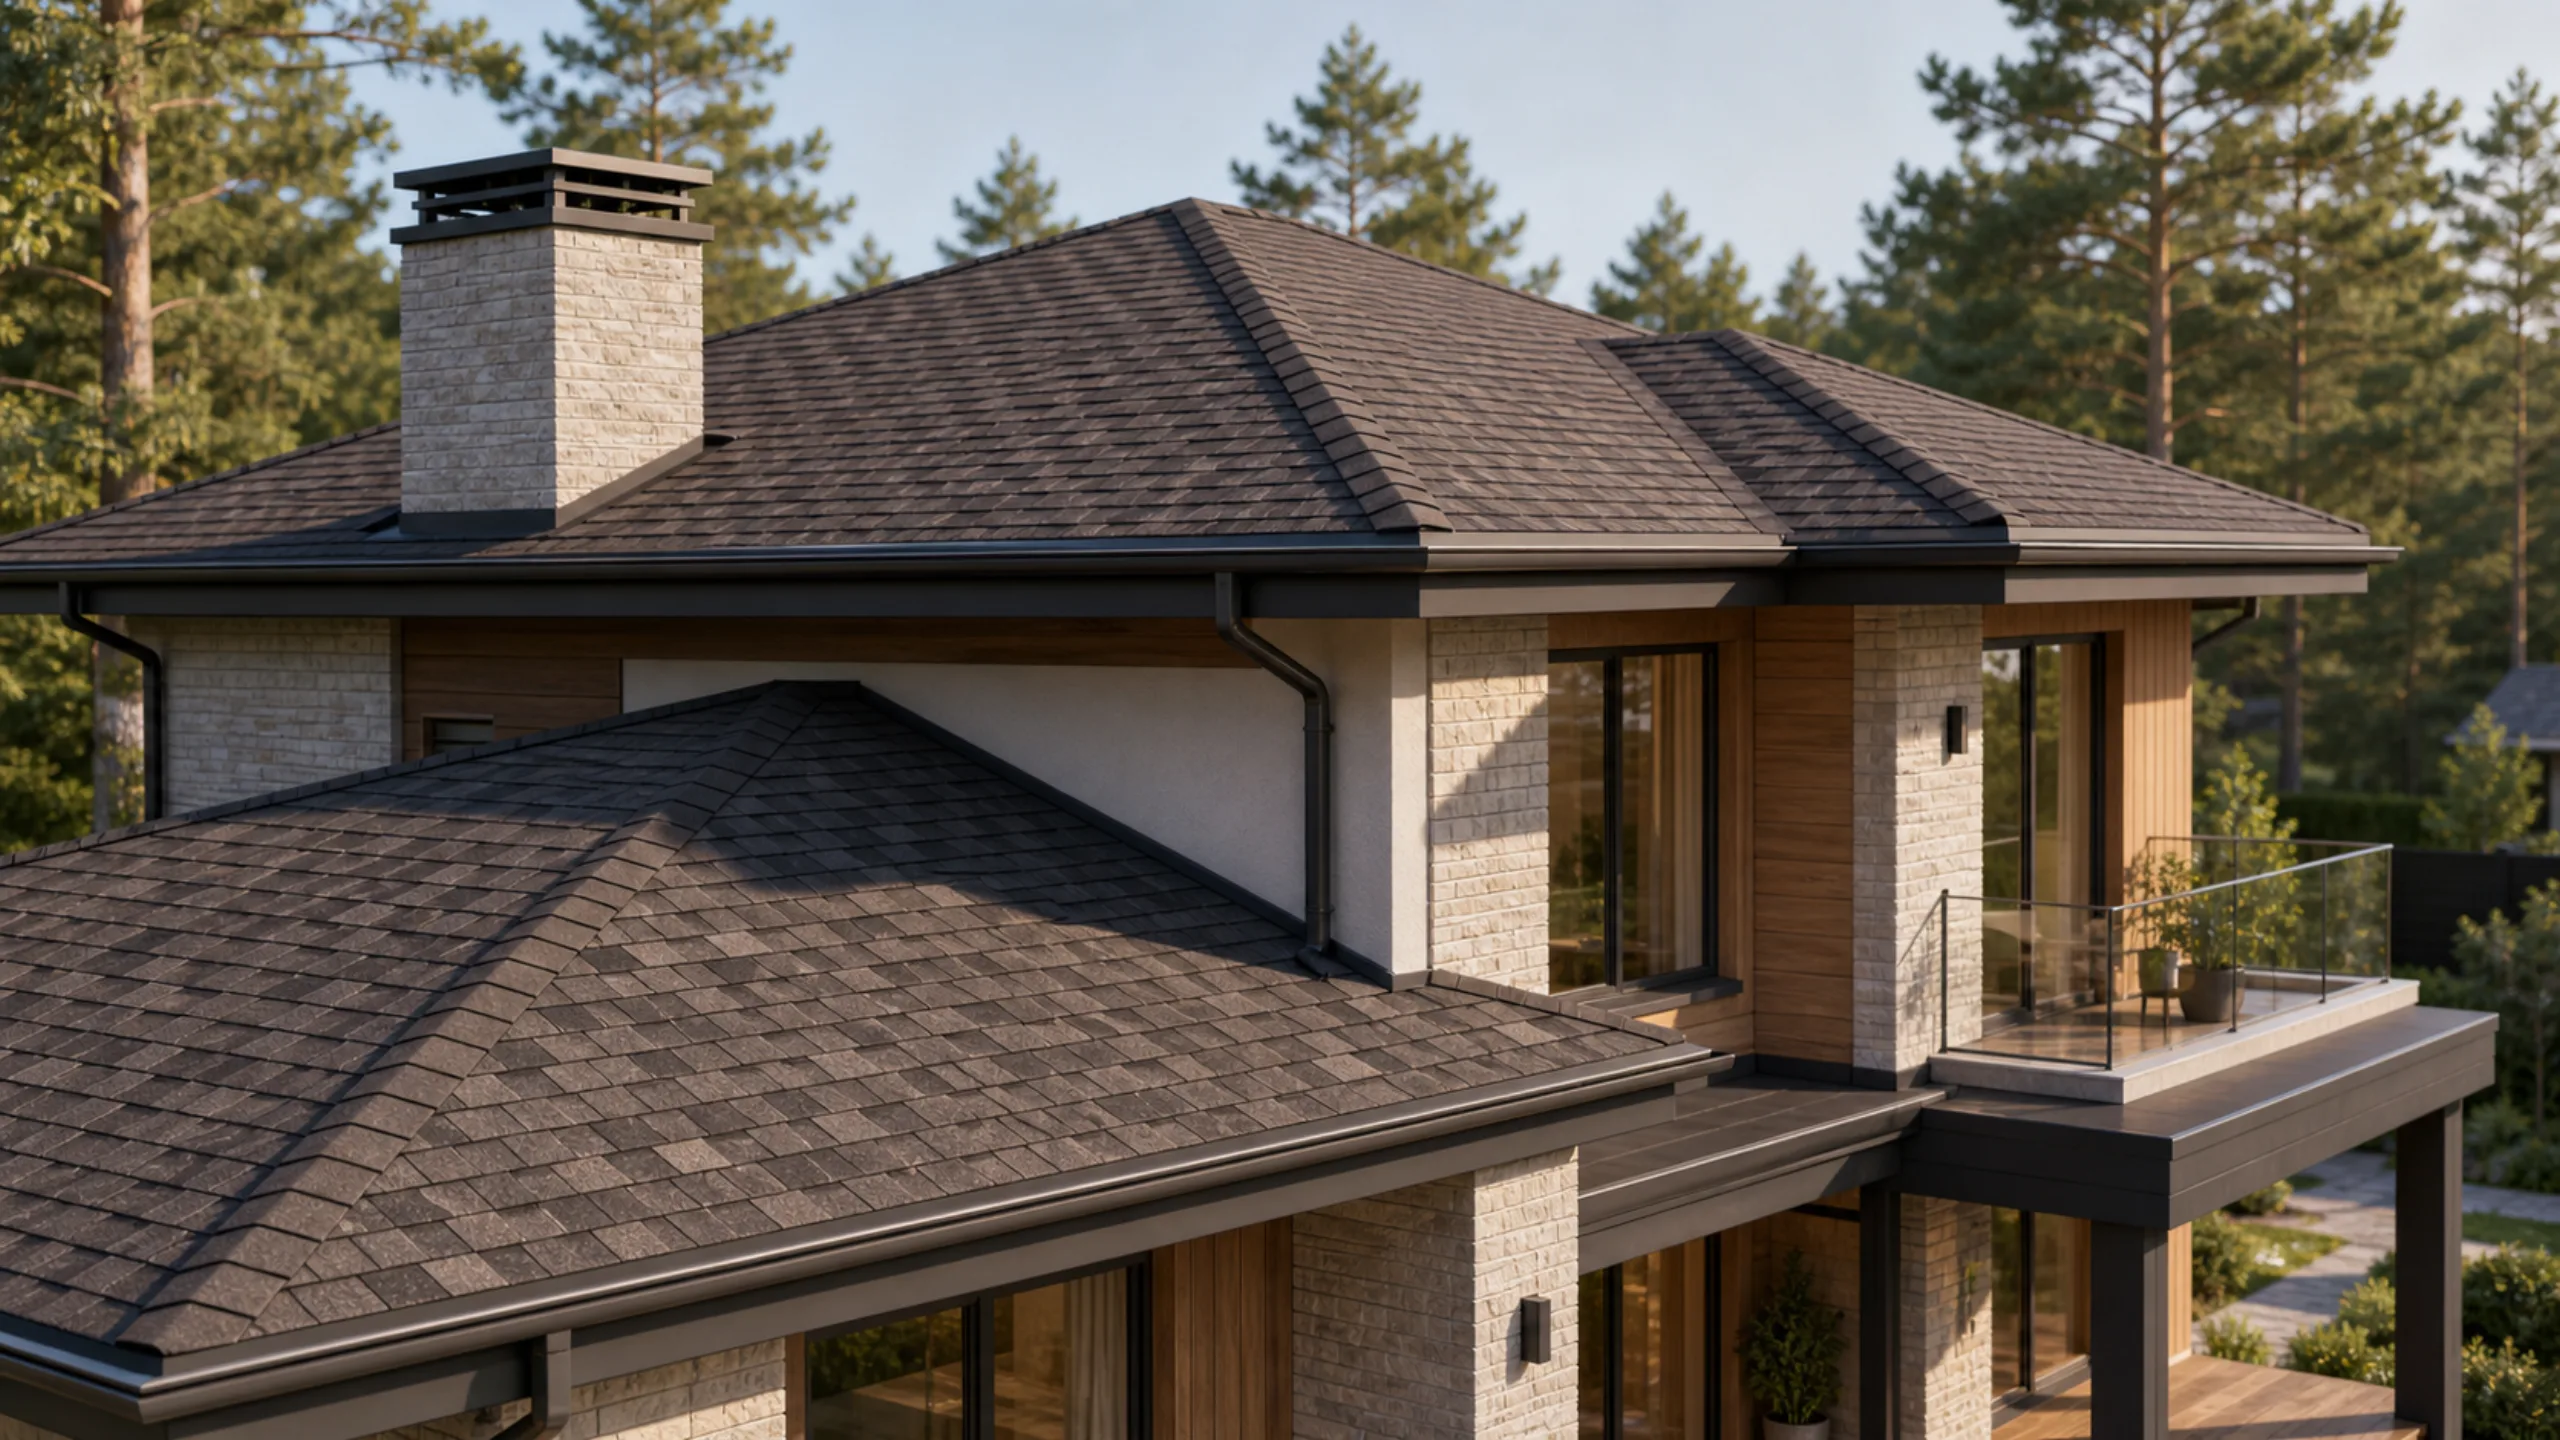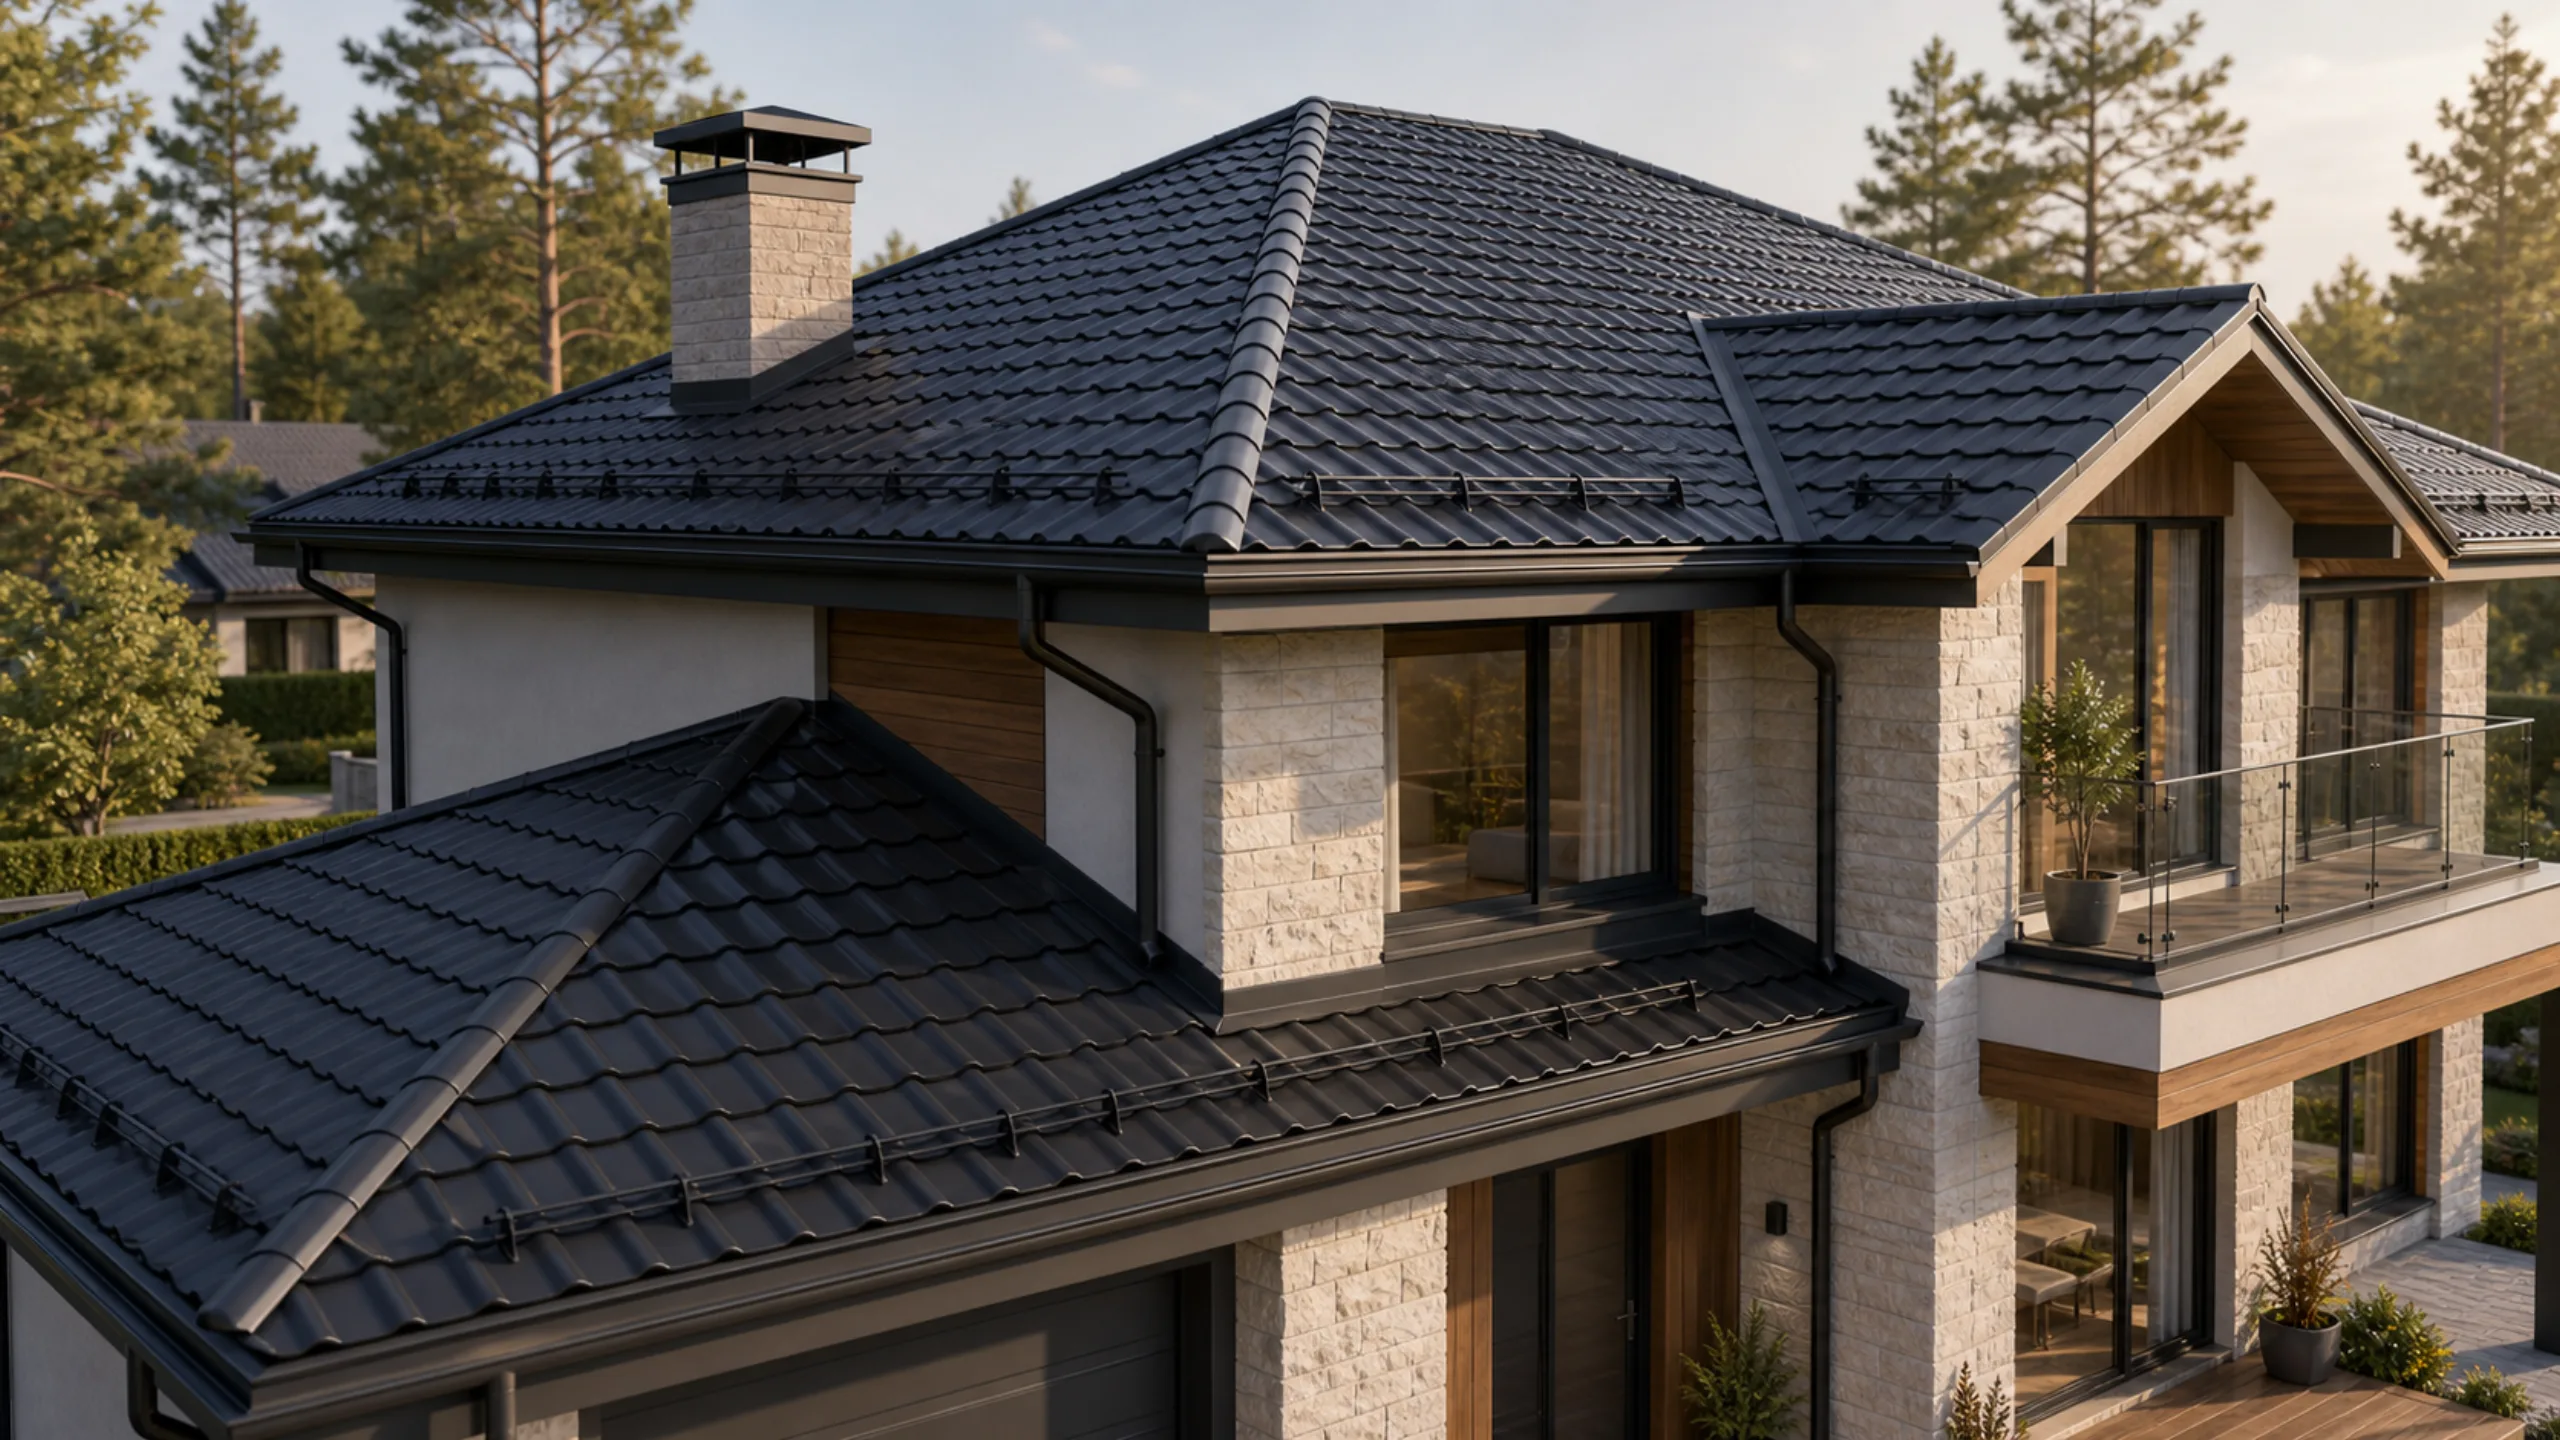
A house needs a good foundation to last for many years. The roof's rafter structure is an equally important part of construction. It bears the full impact of bad weather. It must withstand wind gusts, heavy snowfall and intense rain.
What is a roof rafter system?
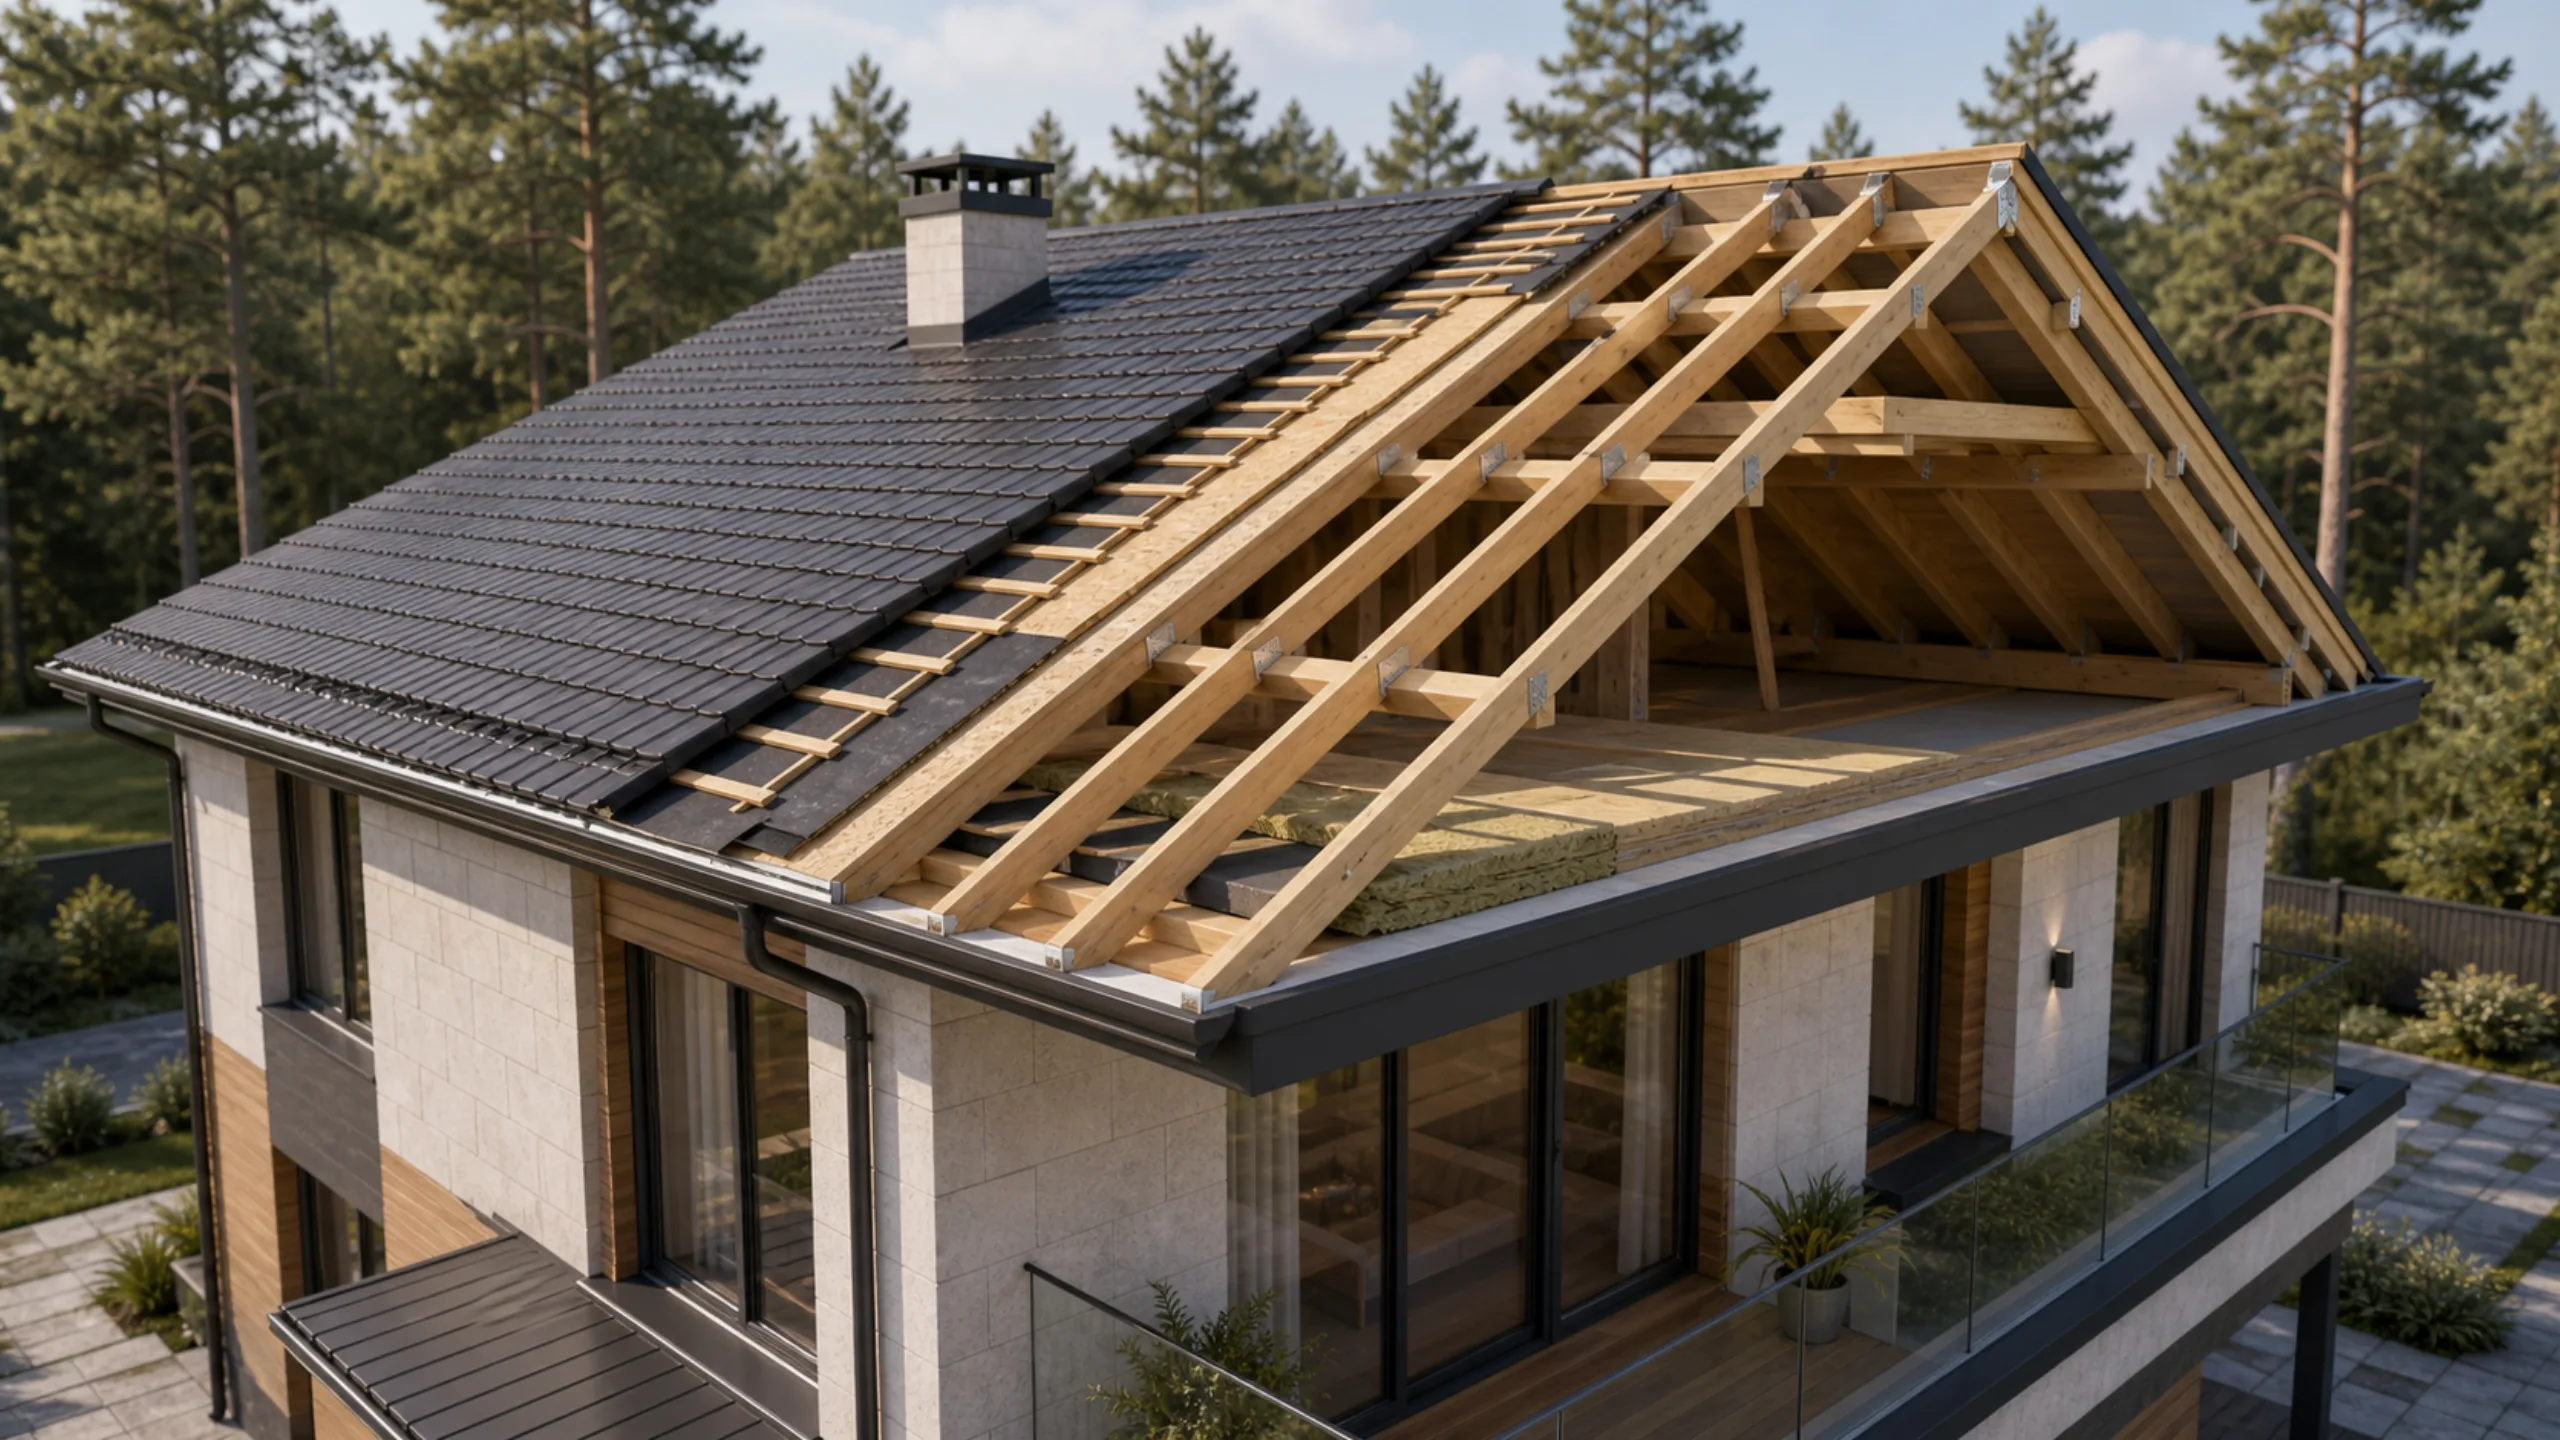
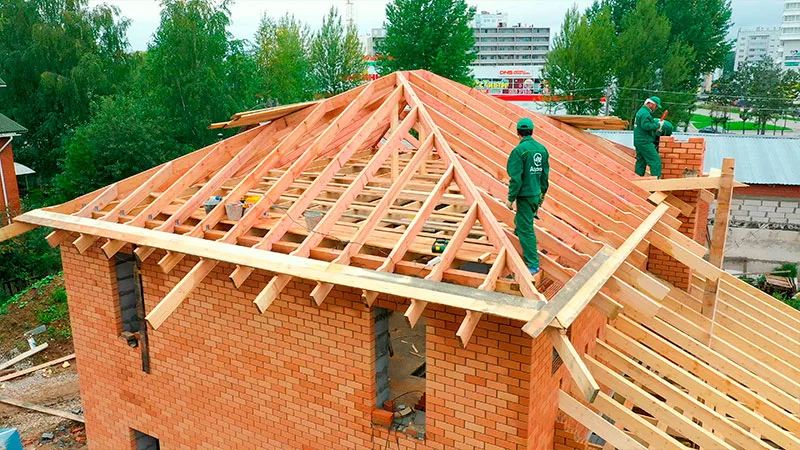
A rafter system is the supporting system of a pitched roof, consisting of rafters. It can also be described as the framework, or skeleton, of a pitched roof.
Rafters are load-bearing elements of the roof system. The roof's weight is transferred through the rafter system to the building's load-bearing walls.
Depending on the roof type and construction, the system may include rafters, wall plates, horizontal ties, purlins, sleeper beams and their posts, struts and other elements.
Let us look at how this system works and how to build it correctly.
Requirements for a rafter system
Rigidity
Every component and connection in the system must be rigid. They must not deform under either shear or thrust forces.
The entire structure is based on a triangle. This is the shape of the structure. Rigid rafter connections give the roof the stability it needs.
Low weight
The roof should not be heavy, so the rafter system is usually made of timber.
Softwood may be used, but it must be at least first grade, with a moisture content below 18%.
Preservative treatment and fire-retardant treatment are both essential. This will help the roofing materials last a long time.
High-quality material
Rafter timber must be of excellent quality:
- Grade 1–3 timber is used.
- Cracks and knots should be kept to a minimum. There may be 3 knots per metre, no more than 3 cm high. Cracks are acceptable if they do not extend through the full depth and are no longer than half the board's length.
- Load-bearing timber components are at least 5 cm thick, with a cross-sectional area of at least 40 cm².
- Purlins, bearing pads and wall plates are made from timber with a cross-section of 150 × 150, or boards of 50 × 150. They are treated with a timber preservative.
Rafter system for a hipped roof
Main components of a rafter system
When planning a roof rafter system, you need to understand the components it contains.
- The wall plate forms the base of the entire system. It helps distribute the load evenly across the walls.
- The rafter determines the slope angle and the roof's overall shape while securely holding individual elements in place.
- A purlin connects and supports the rafters. The ridge beam is at the top, while side purlins run along the sides.
- A tie connects the rafters at the bottom and prevents them from spreading apart.
- Posts and struts provide additional stability for the rafters. They bear on a sleeper beam positioned below, parallel to the ridge.
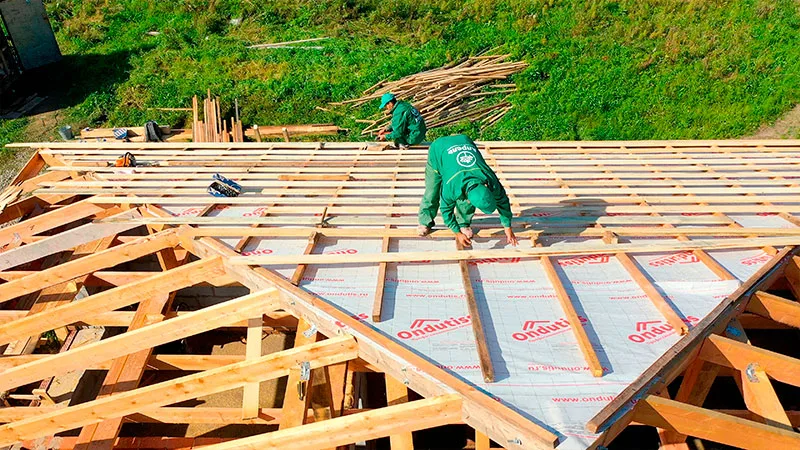
- Battens or boarding are made from sawn timber and fixed perpendicular to the rafters. Its purpose is to transfer the entire load from the roof covering to the rafters.
- The ridge is where two roof slopes meet. Continuous boarding is fitted along the ridge to reinforce this part of the roof.
- Rafter extensions form the eaves overhang where the rafters themselves are not long enough.
- The roof overhang protects the walls from excessive rain and snow.
- A valley is the junction between two planes where a complex roof changes direction. Unlike a ridge, it is positioned where the roof slopes meet at an inward angle.
Rafter systems for different roof types
All structural variants fall into two main types: hanging-rafter and supported-rafter systems.
Hanging rafters
They are ideal for gable roofs with short spans of up to 5 m and no internal partitions.
The lower support is the wall plate. This system uses a tie to reduce the outward thrust on the building's main supports. The beams in a hanging-rafter system are positioned at the bottom and also serve as floor beams. Reinforced concrete floors can also act as ties for the system.
Do not use the rafters as the main supporting element for the roof overhang. A better option is a rafter extension, provided the overhang is no wider than 1 m. In this arrangement, the rafter transfers the load to the wall plate across its entire bearing surface.
If the timber's moisture content exceeds 20%, expect the system to move as it dries. One solution is to use bolts as fasteners, as they can always be tightened.
Unlike supported-rafter systems, hanging rafters bear only on wall plates located on the external load-bearing walls.
Supported rafters
They are used for roofs with spans of 9–15 m. These rafters are attached to a ridge beam at the top and a wall plate at the bottom.
For spans greater than 15 m, two side purlins supported on posts are installed instead of a ridge beam.
Where an attic is planned, a wall is used to support the rafters.
Points requiring PARTICULAR ATTENTION:
- No structural part of this system should be thicker than 5 cm.
- Component surfaces should be as smooth and well-finished as possible.
- Loads on each structural component must be calculated very carefully.
- The wall plate must be strictly horizontal in relation to the vertical supports.
- Symmetry must also be maintained when installing struts and posts.
- Good attic ventilation helps prevent the rafter system from rotting in the future.
- Waterproofing is required where components meet stone or brick.
Roof and rafter construction begins with design.
The main task is to develop the roof's appearance and calculate its structural dimensions, taking the various loads into account.
This is demanding work that requires care and knowledge. We recommend consulting specialists whenever possible.
How to approach structural design
The structure determines a home's reliability, so it cannot be chosen on the basis of general advice alone. Information about the site, loads, architecture and selected materials is needed.
Structural choices are best considered alongside the design, site, budget and future use of the home.
Common mistakes
The greatest risk is simplifying the structure without calculations: changing foundations, floors or the roof solely to save money. Sometimes these savings create risks that only become apparent after construction.
Another risk is relying solely on other people's experience without considering your own site, design and family's needs. General construction advice often needs to be adapted to specific conditions.
What to check
- whether soil and load data is available;
- whether details are coordinated with the house architecture;
- whether the work sequence is clear;
- whether the effect on the estimate and schedule has been considered.
When to develop the structural design
Structural specifications should be agreed before work begins. At this stage, it is easier to coordinate details, calculate loads and specify the correct construction methods from the outset.
Even if a decision has already been made, review it before work starts on site: clarify the limitations, related work, material requirements and impact on the home's future use.